FlickRocket is the most fully featured platform for monetizing and distributing content securely and now you can offer eLearning courses with or without assessments using our new Learning Management System (LMS) functionality.
If you have already created a SCORM 1.2 package, you can upload those directly to a new SCORM product in FlickRocket. If you need to create the course, you can use our new Flux SCORM Editor to create your course and SCORM package.
You can use any videos that are already in your shop catalog or you use MP4 videos on your computer. The courses are Digital Rights Management (DRM) protected, so screen sharing and recording are still prevented just like any other content in your shop.
The process is simple. Add a section, select the video, set the in and out points, then add the questions and answers. Repeat until you have added all sections.
The screenshot below is from a course developed with the Flux SCORM Editor tool.
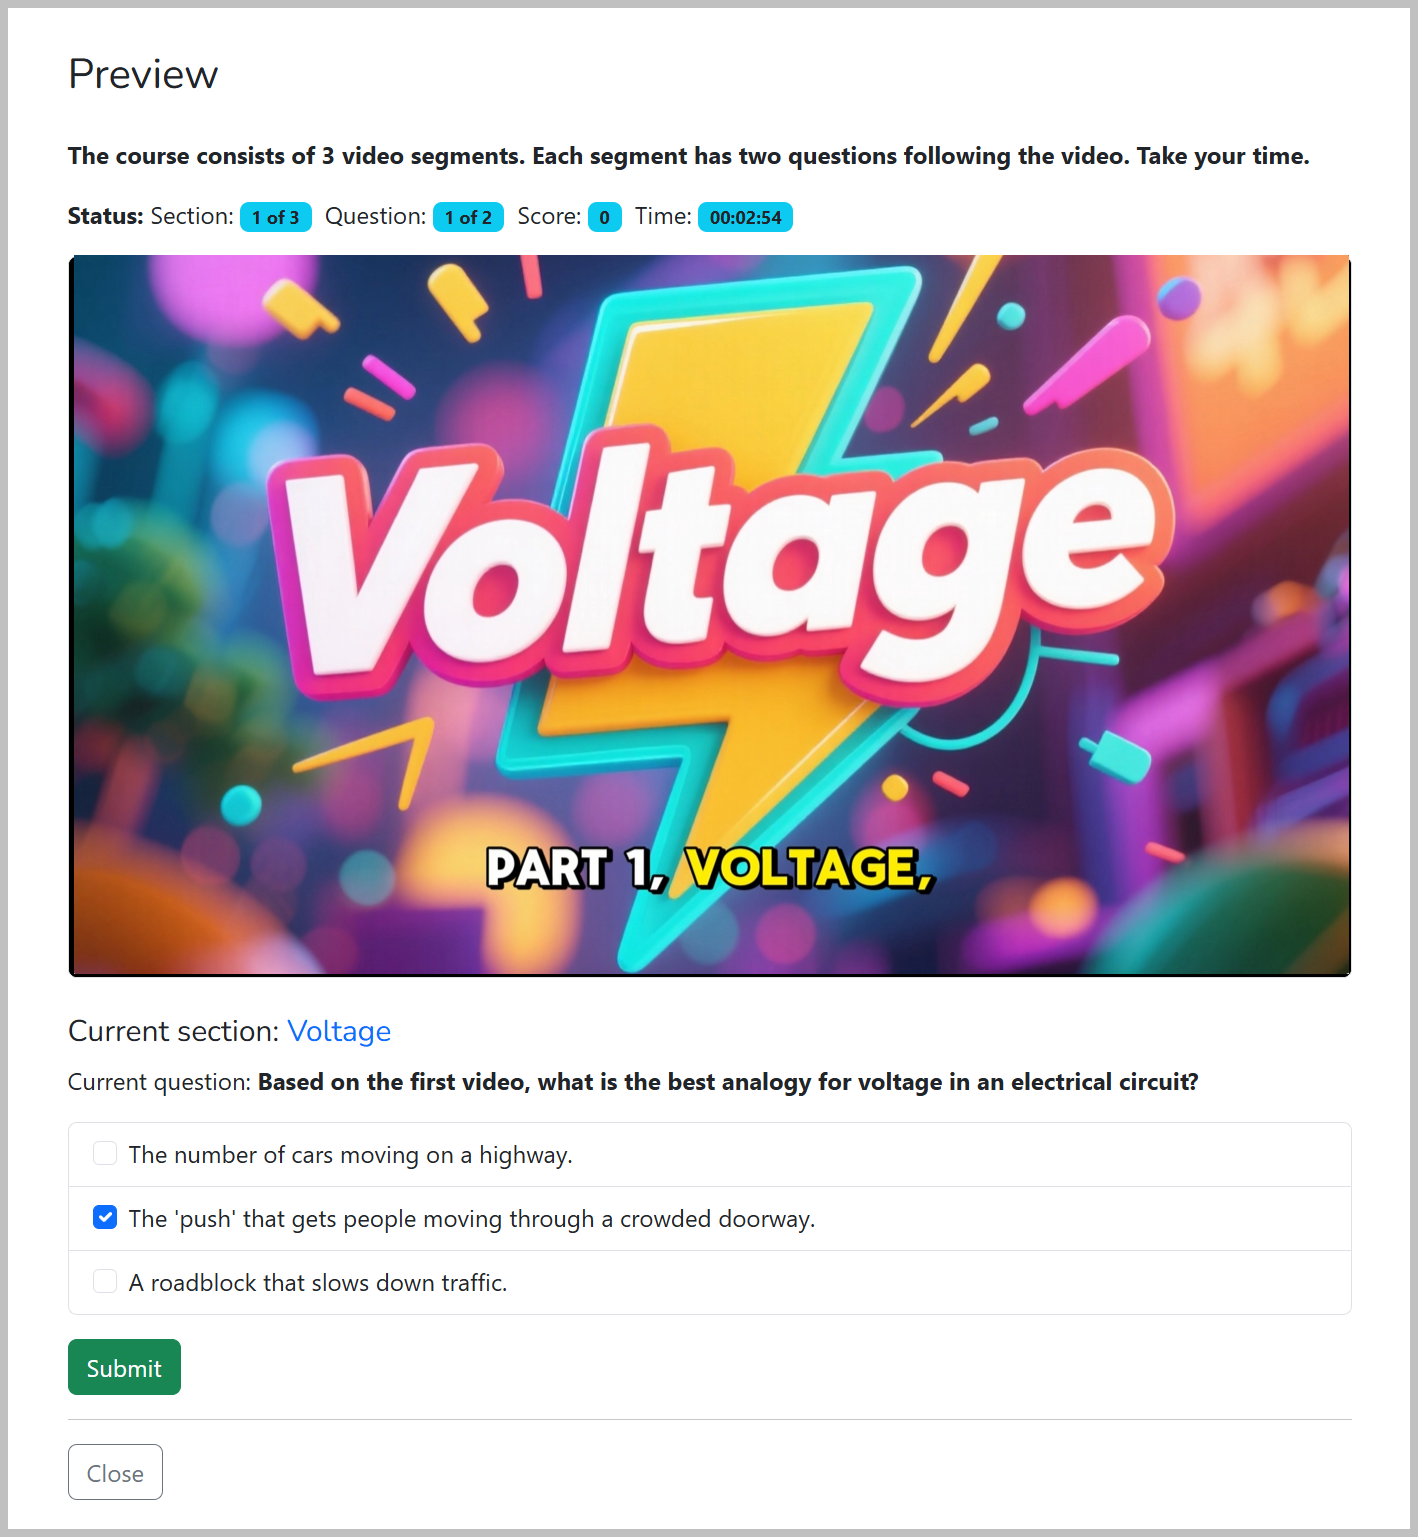
Welcome to the Flux SCORM Editor! This tutorial will guide you through the process of creating video-based SCORM courses complete with interactive questions. A SCORM course is built using sections, which function like chapters in a book, each potentially containing its own video segment and related questions.
To locate the Flux SCORM Editor, login to the FlickRocket admin and go to CMS/LMS>LMS>Flux SCORM Editor.
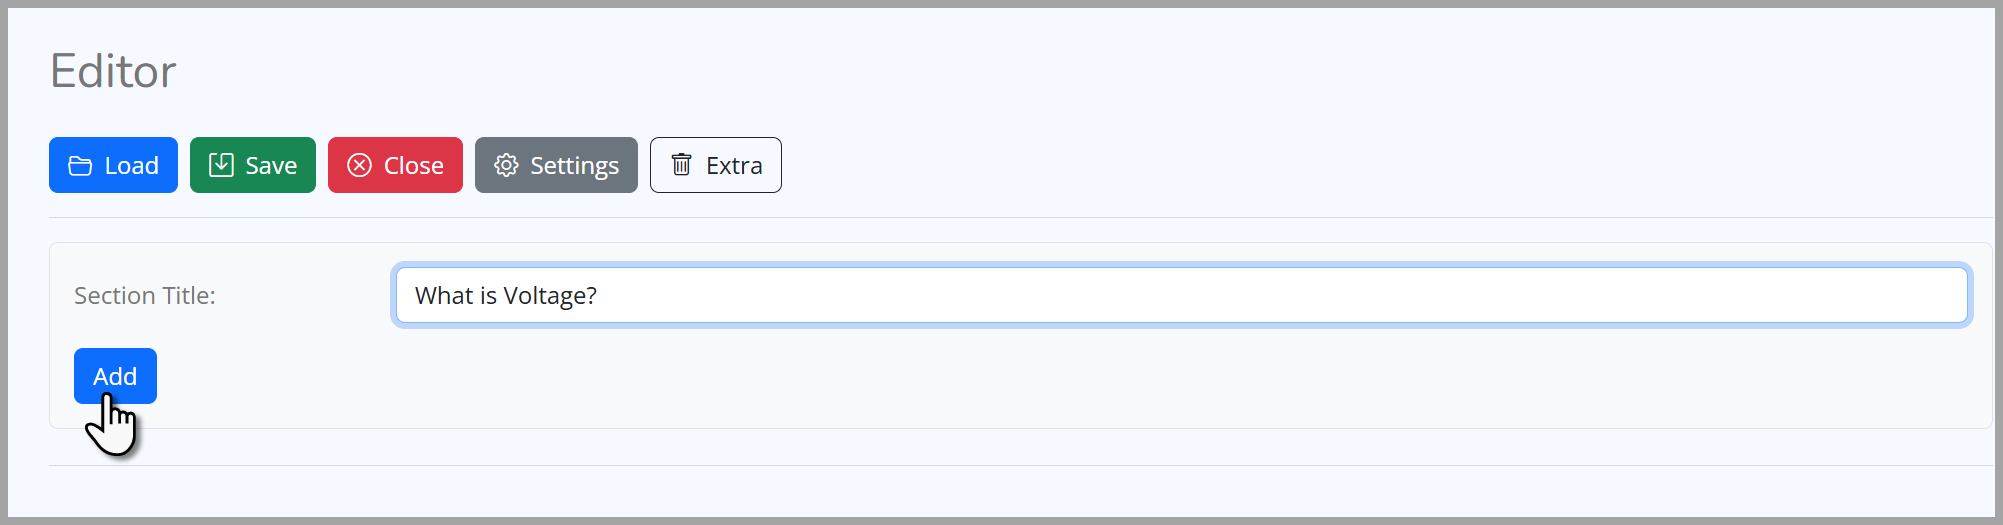
First, you'll need to create a course and add your first section.
With your first section created, you can now add video content and interactive questions.
Each section can feature a video from one of three sources:
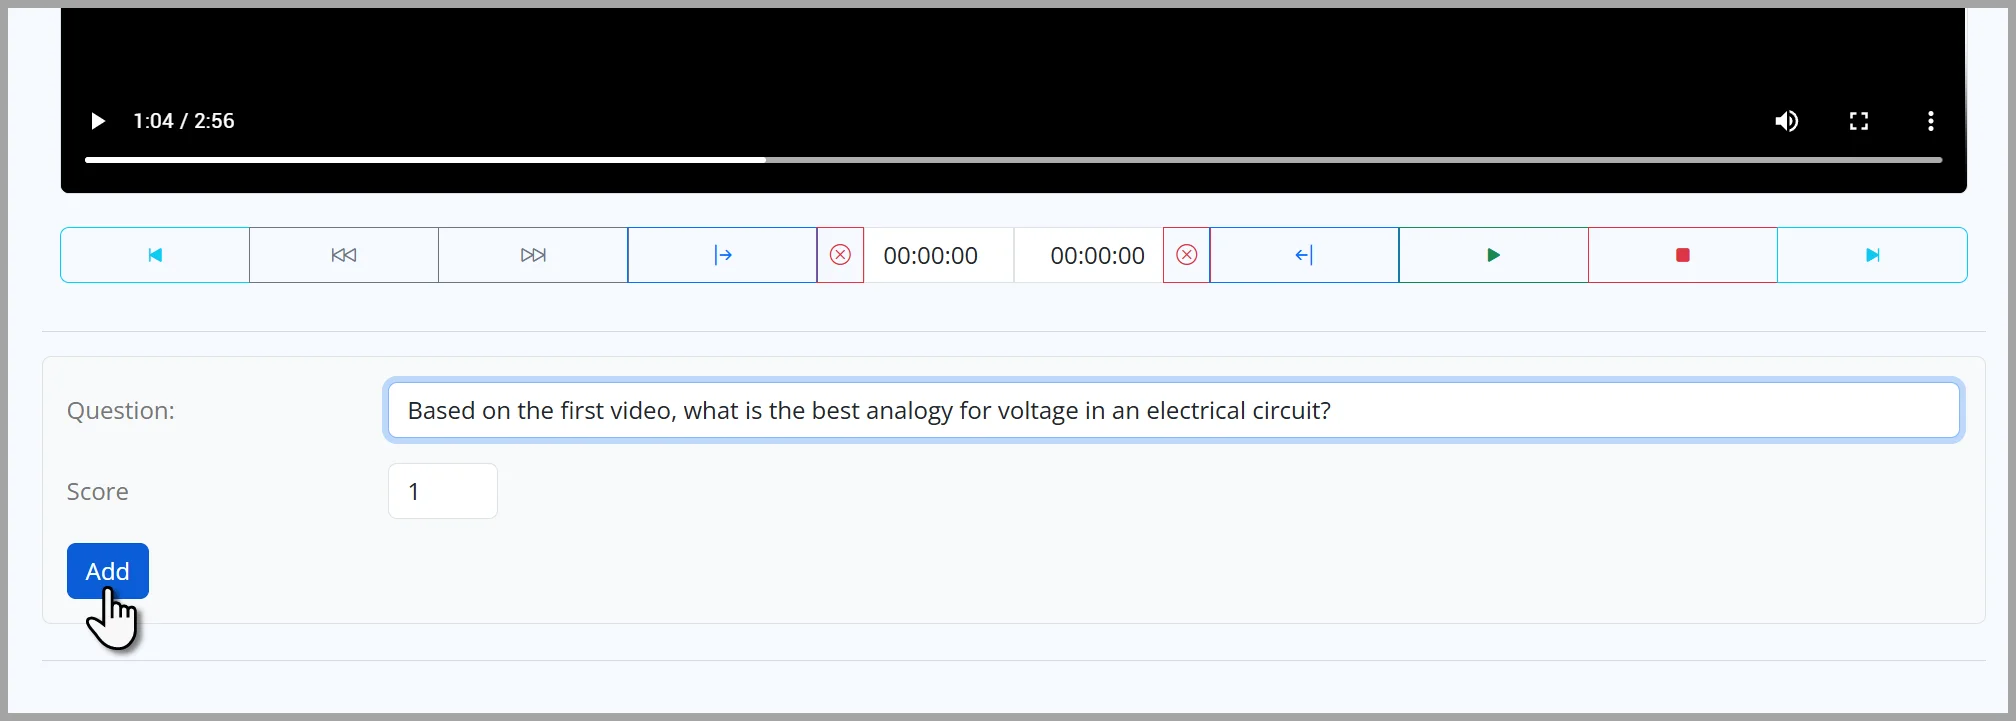
After selecting your video, you must define the segment that applies to the section.
You can add questions that will be displayed to the user during video playback or at the end of the section.
In the Question field, type the question you want to ask.
Set the point value for a correct answer in the Score field.
Click Add to save the question.
Next, add the possible answers. Enter the first answer text in the Answer field.
If this is the correct answer, check the Correct box. For incorrect answers, you can provide explanatory text in the Feedback (wrong) field.
Click Add to save the answer. Repeat this step until all possible answers for the question have been entered.
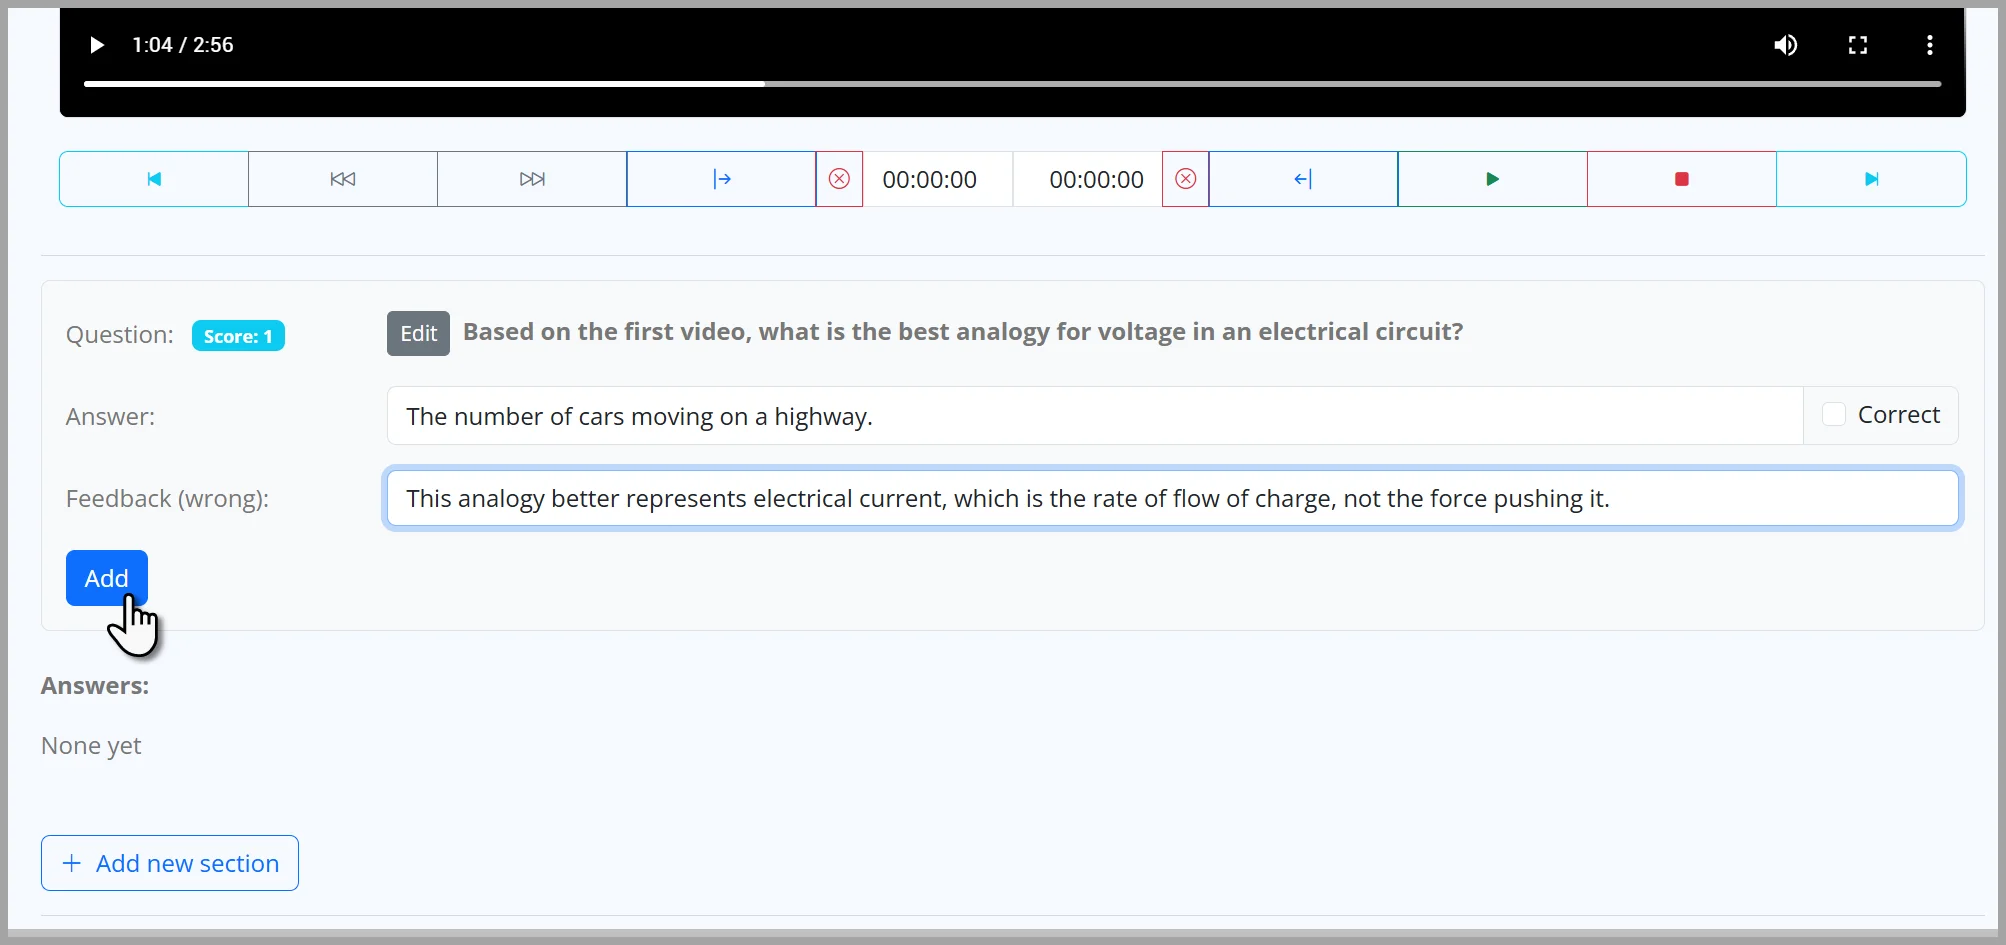
To add another question, click + Add new question and repeat the process.
To add another section, click + Add new section and repeat the process. You can always modify or remove existing sections, questions, or answers by clicking the associated Edit or Delete buttons.
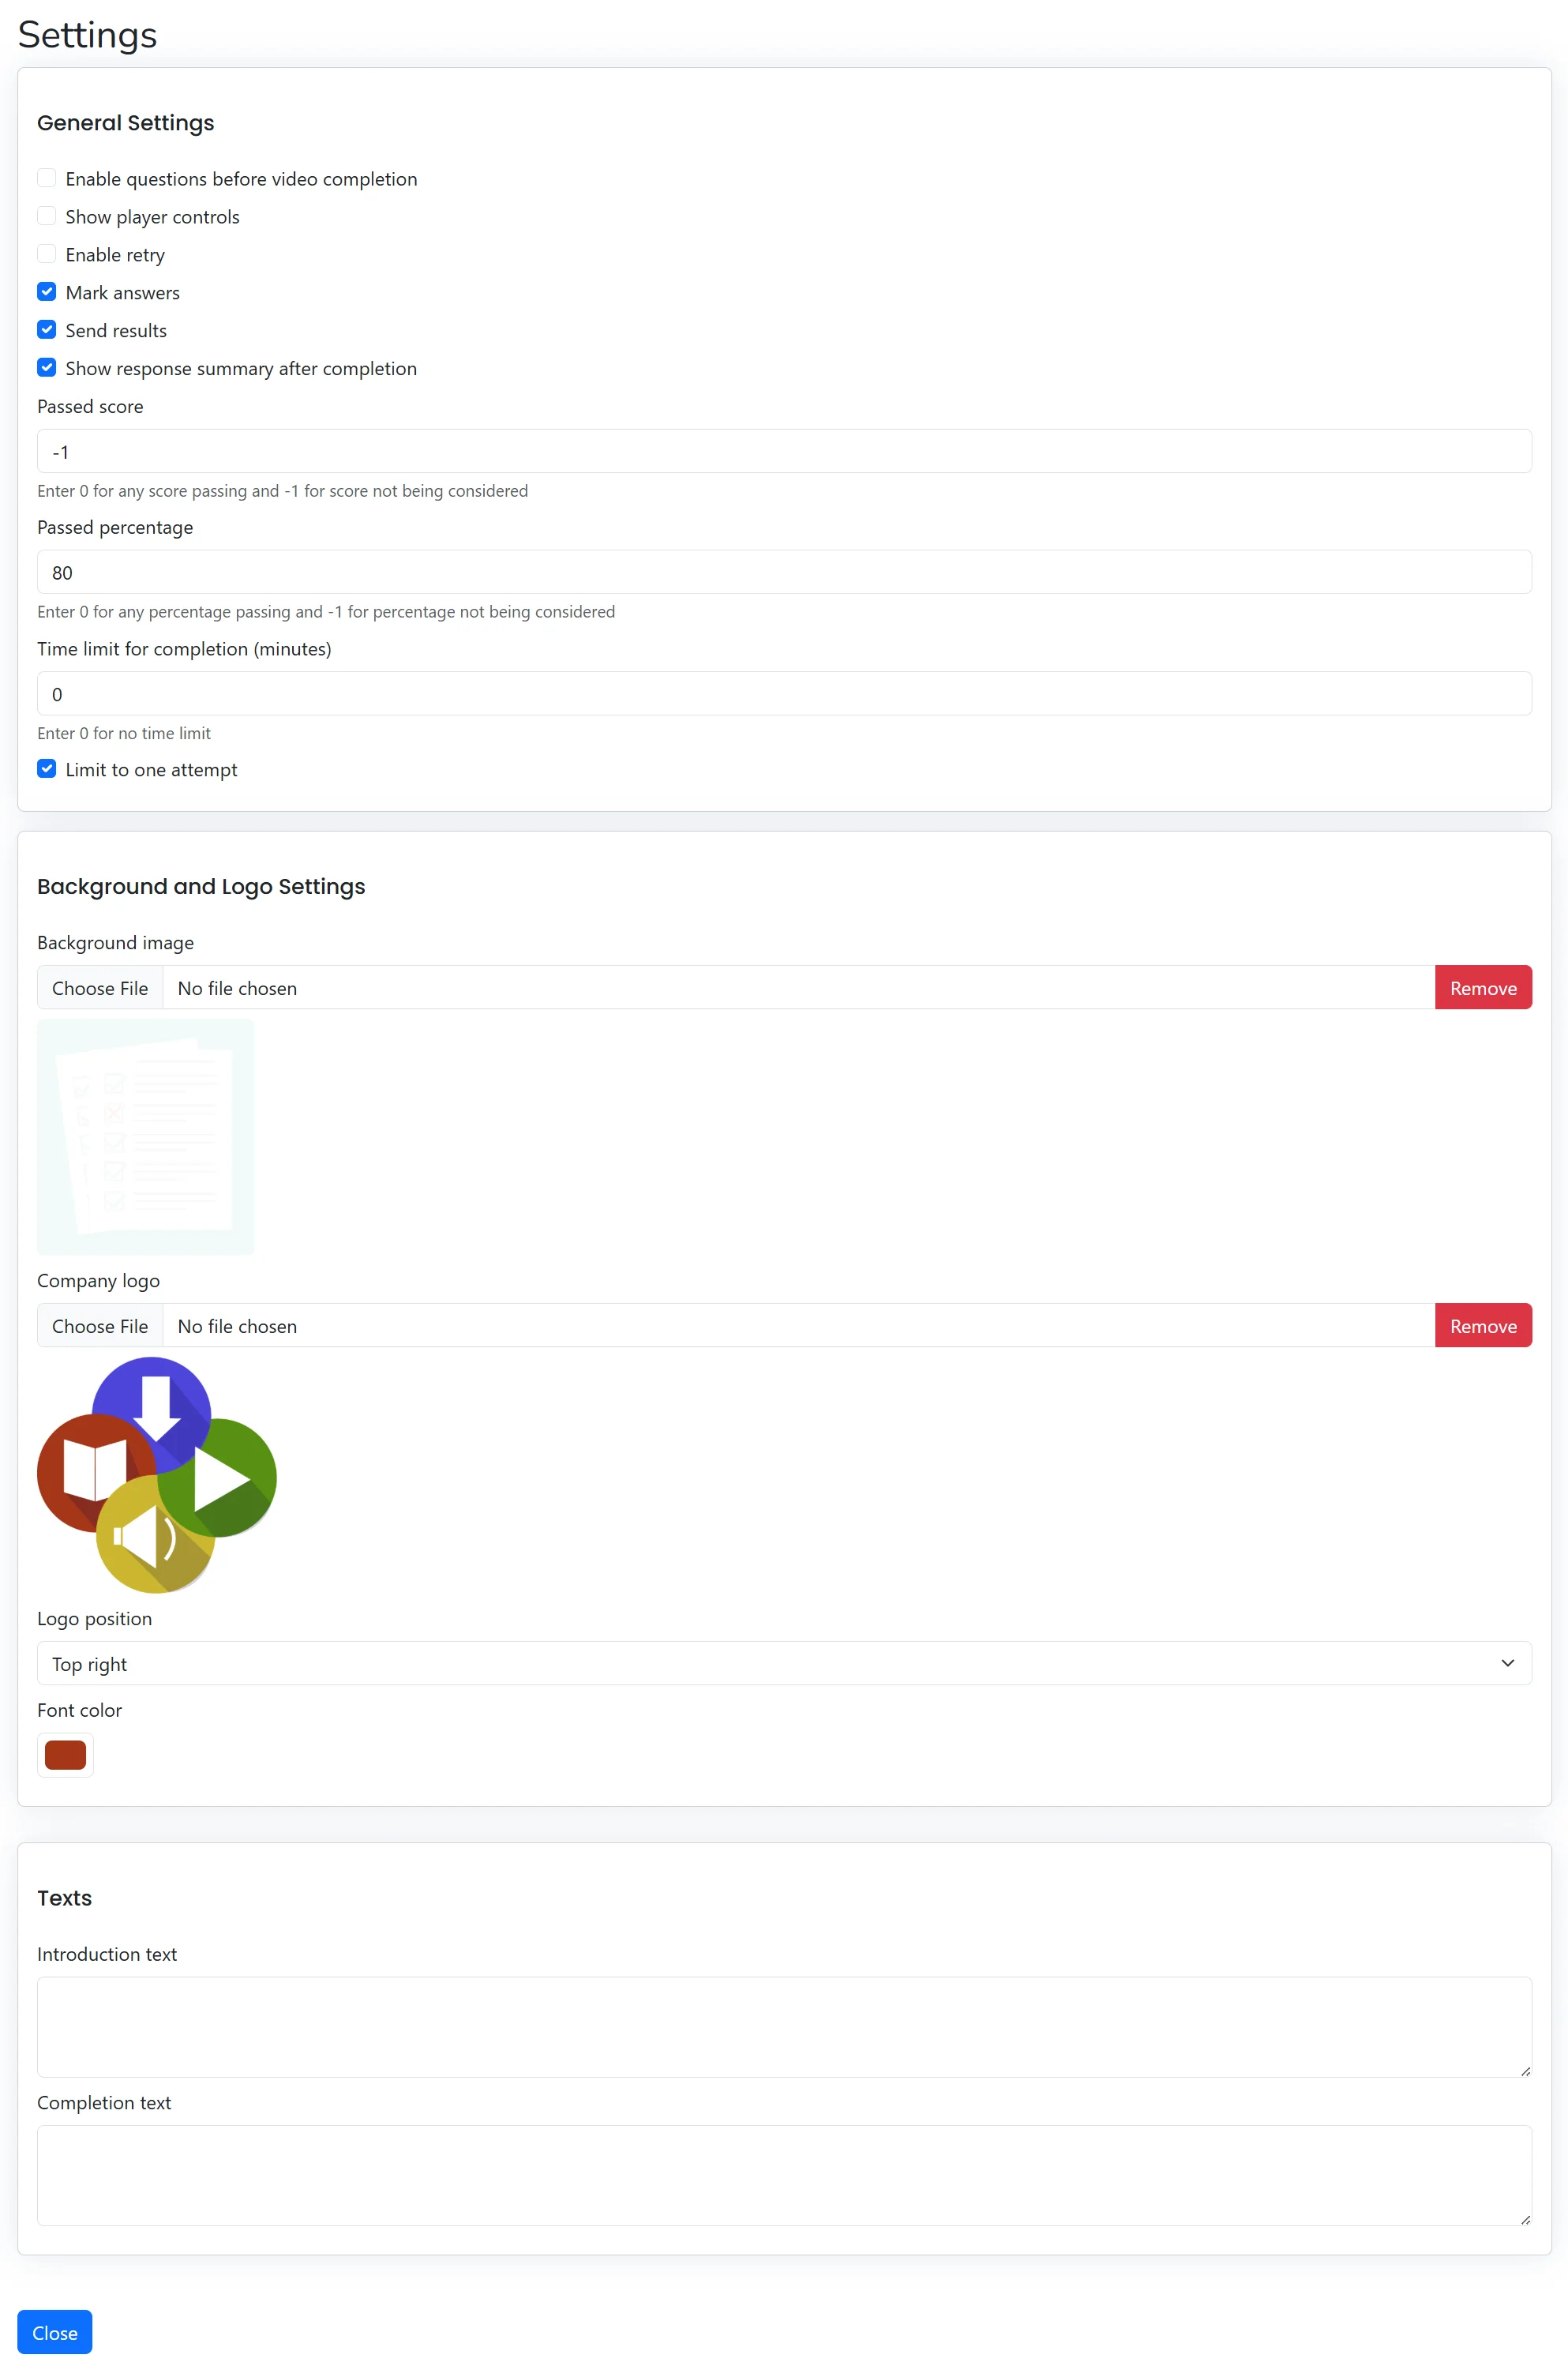
Before finalizing your course, you can customize its behavior and appearance. Click the Settings button to access these options.
-1 ignores the score, while 0 means any score is a passing score.-1 ignores the percentage, while 0 means any percentage is a passing percentage.0 means there is no time limit.Background image: Upload a PNG image to use as the course background.
Company logo: Upload a PNG image of your logo.
Logo position: Select where the logo should appear on the screen.
Font color: Choose the font color for section headings.
Once your sections, content, and settings are configured, you can preview and upload the course.
Preview: Click the Preview button to test the course and ensure it functions as expected.
Save: Click Save to store your course progress.
Finish and Upload: When you are ready, click Finish and upload to publish the SCORM package.
Close: Click Close to exit the Flux SCORM Creator.
You can also offer customized certificates upon successful course completion. See the FlickRocket user guide:
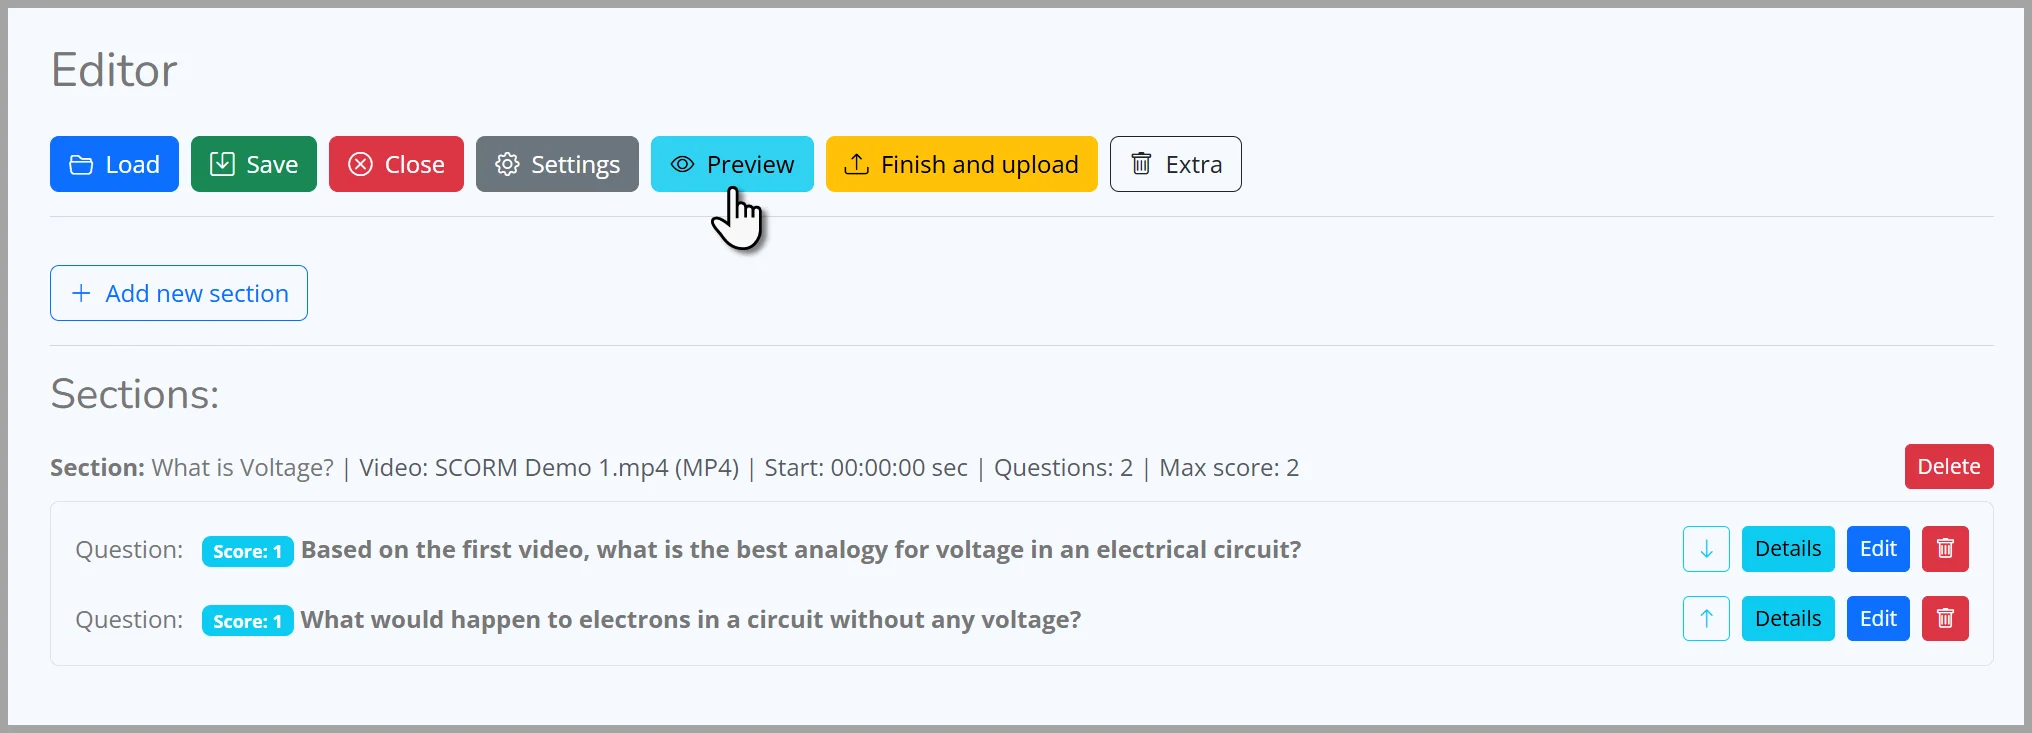
The Extra button provides access to advanced options. The primary function here is Clean local storage, which you can use to purge video data from previous courses that may be stored in your browser's IndexedDB. Use this with care, as it will render any unsaved courses with locally saved data invalid and you would have to reload videos for any saved courses.
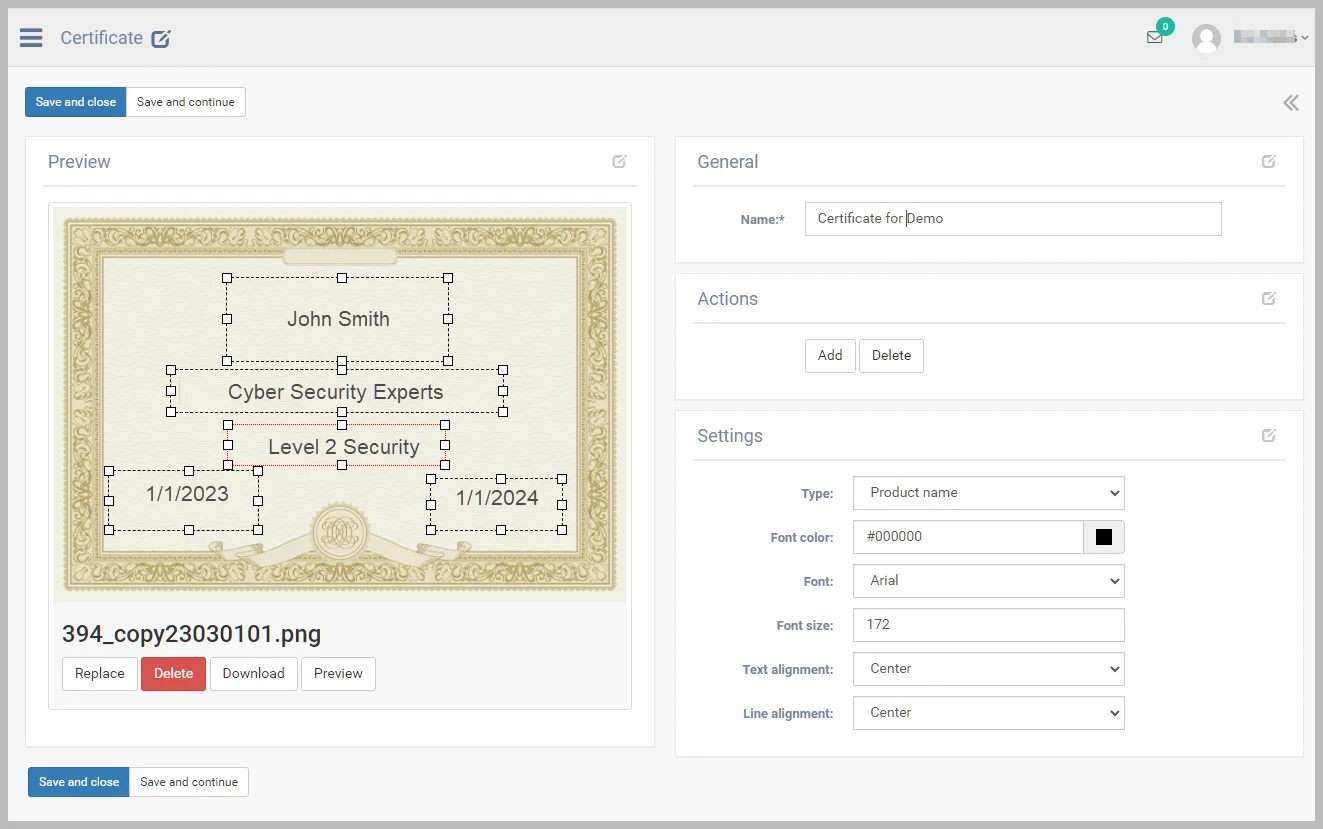
Providing a certificate upon successfully completing a course may be required by your clients. FlickRocket provides the functionality to upload your own certificate images and automatically populate the certificates with the course taker's name, successful completion date, expiration date, your company name as the company certifying the course completion.
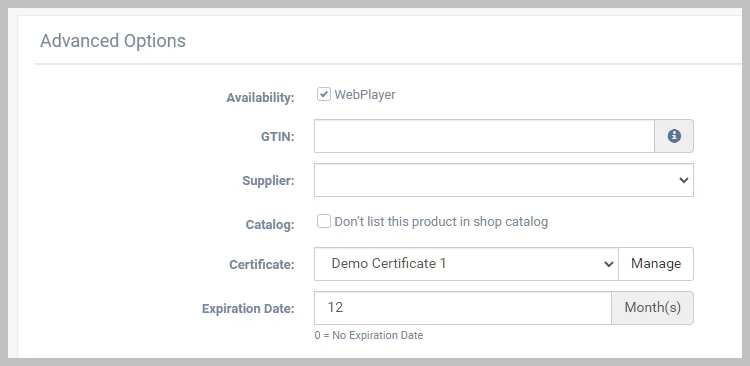
The SCORM product configuration page allows selection of one of the available certificates as well as entering an expiration period from the date of successful course completion.
To create a certificate:
Whether a certificate is made available to the course taker is set in the product configuration page. To add a certificate:
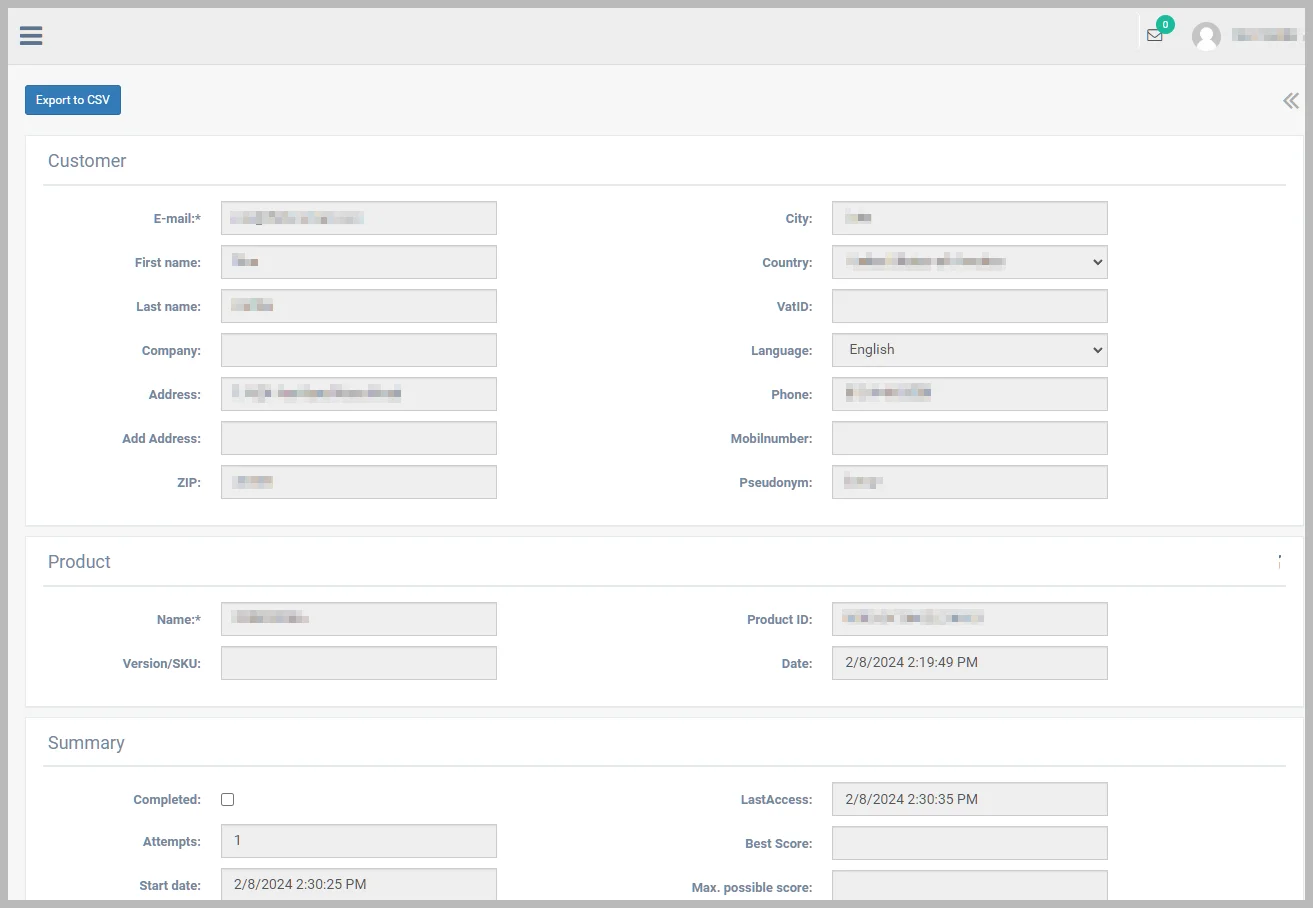
You can view the complete assessment results, search, and export to .CSV. Basic results are displayed by selecting Details. The complete results can also be exported to CSV.
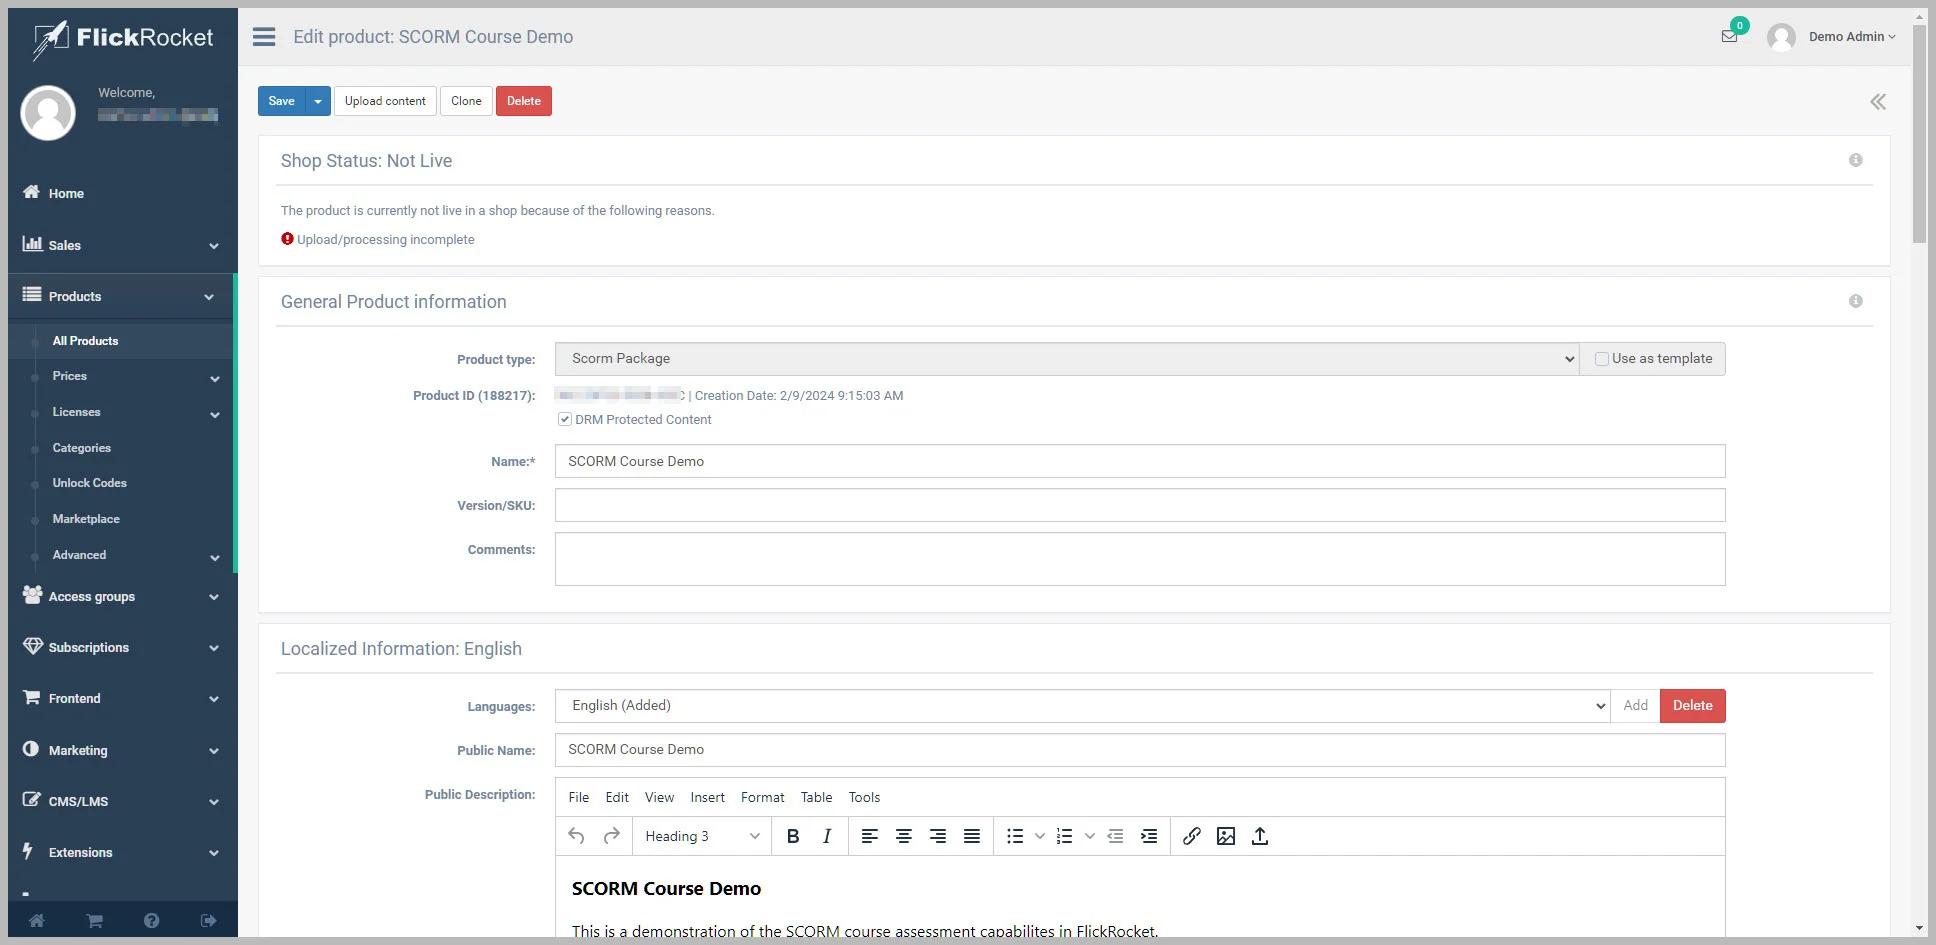
To offer a SCORM product via your FlickRocket shop account, you must create a SCORM product and upload the SCORM package to that product. All of the information except the Product ID and whether the content is DRM-protected can be changed later.
To create a SCORM product:
The SCORM package zip is then uploaded to the server, checked, and placed in queue to be uploaded to the Content Distribution Network (CDN). You will receive one email to acknowledge receiving the upload and a second email when the content is ready on the CDN.
SCORM products can be obtained via shop purchase, invitation, unlock codes, and manual order.
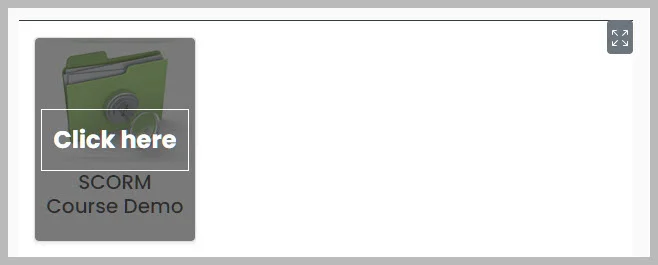
The SCORM course can be accessed through the Web Player using Chrome, Firefox, Edge, or Safari. The Login button for the Web Player is in the Quick Online Access section of the My Content page in your shop. SCORM courses can also be accessed using the player apps, however unlike other types of digital content, an internet connection is required when viewing a SCORM course. If a certificate is available for the course, a link will appear in the product description area once the course has been successfully completed.
Access to the course can be restricted depending on the license and SCORM course options set during course creation.
When an order quantity is greater than 1, the product is not automatically assigned to the customer's email account. It does not make sense to add multiple copies of a digital product to an account as the customer would still see only one product. Instead, the purchaser is provided with an Unlock Code. The code can be redeemed to a new or exiting account or even by the purchaser. The same code can be used to unlock the product on the number of accounts equal to the quantity purchased. For example, a purchasing agent could purchase a quantity of 10 and then provide the code to a department manager who could give the code to 10 employees. Each employee could redeem the code once on their own account and use their own email address and password to access the content.
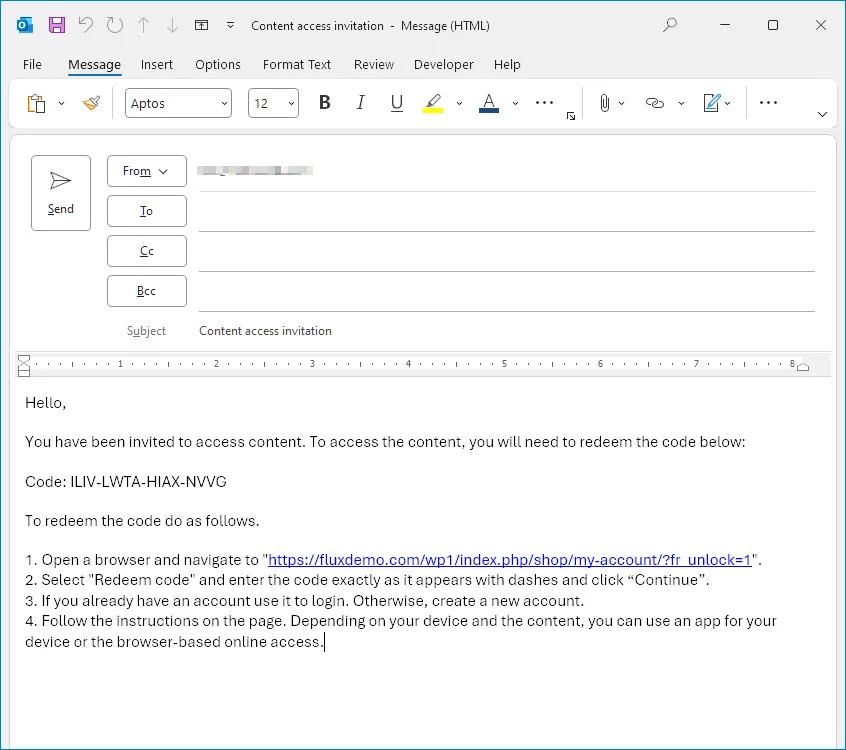
The code and redemption instructions are provided to the purchaser in the order confirmation email, however the purchaser can also find the code and instructions by opening the product on the My Content page.
After the product is open, the purchaser has several options for distributing the code including redeeming the code to their own account, copying the code to paste in another document, sending individual pre-populated emails, and automatically sending bulk emails.
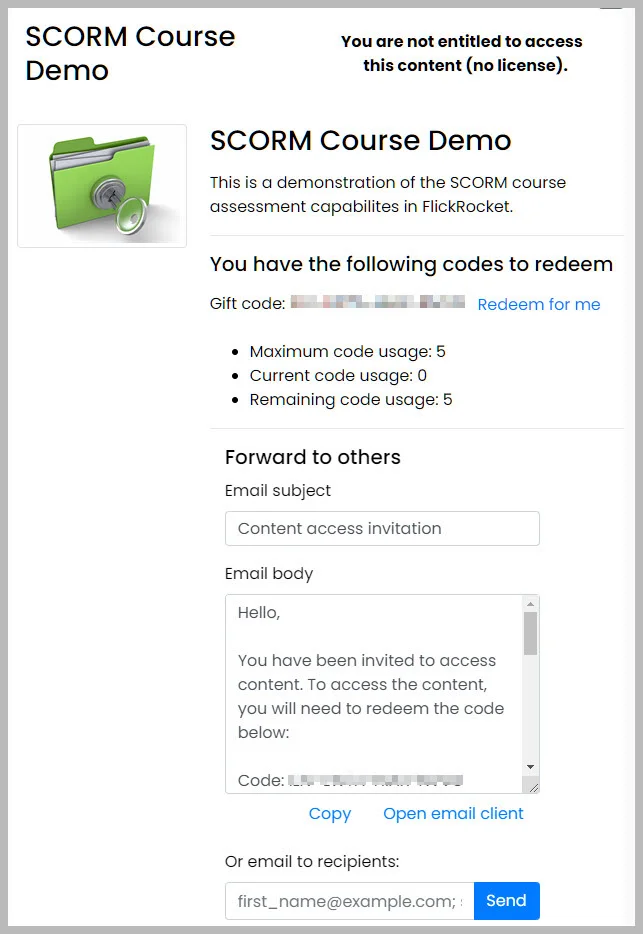
Redeem for Me - Clicking this option will redeem one of the available codes to the purchaser's account.
Forward to others - This option presents an email subject field, body field, and recipients field. The text in any of these fields can be modified and provided to others by using Copy to copy the text to the clipboard. Using the Open email client option will open the default email client with a pre-populated email ready to send.
Email to recipients - Emails, with any modifications to the text, are automatically sent when you populate this field with the email addresses of those that should receive an unlock code. The email address must be separated by a semi-colon.
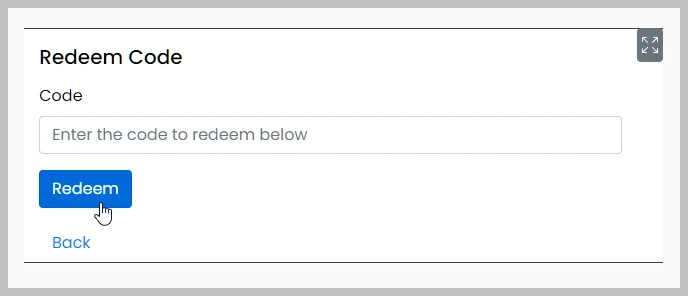
The unlock codes can be redeemed by clicking the Redeem Code button on the My Content page and entering the code exactly as it appears with dashes.
During code redemption, the person redeeming the code can enter their email, a password or their choice, and their first and last name. The email and password will be the login credential for both the Web Player and the player apps.

Each assessment taker can review their assessment results immediately after the assessment in the product description area of the Web Player or player apps. If they have taken different courses, they will be able to view the results for all courses taken and download the associated certificate if one was available for the course.
A manager may also need access to those results and/or certificates. The manager will have access to those results if they are purchased under the manager's email address and the manager forward's the unlock code the employees.
