This quick guide explains the function of the FlickRocket Digital Sales (DRM) App for Shopify.
The App has the following requirements
The FlickRocket App for Shopify is installed directly from the Shopify App Store. After clicking on Add App to install the App, you can open it under Apps from your Shopify store admin interface and connect it to your FlickRocket account.
If you have already an existing FlickRocket account, you can click on Connect (use my existing account). Alternatively, you can create a new FlickRocket account by filling in your email, selecting a password, and clicking on Connect (create new account).
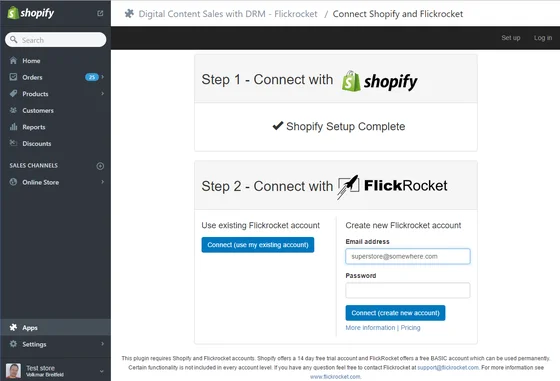
After connecting your account, you are ready to create digital products, upload the content, and tweak your settings.
The following describes the App settings and guides you through setting up your digital products for sale in Shopify.
To get to the App's Dashboard, click on Apps in your Shopify Admin and then select the Digital Content Sales with DRM - Flickrocket app.
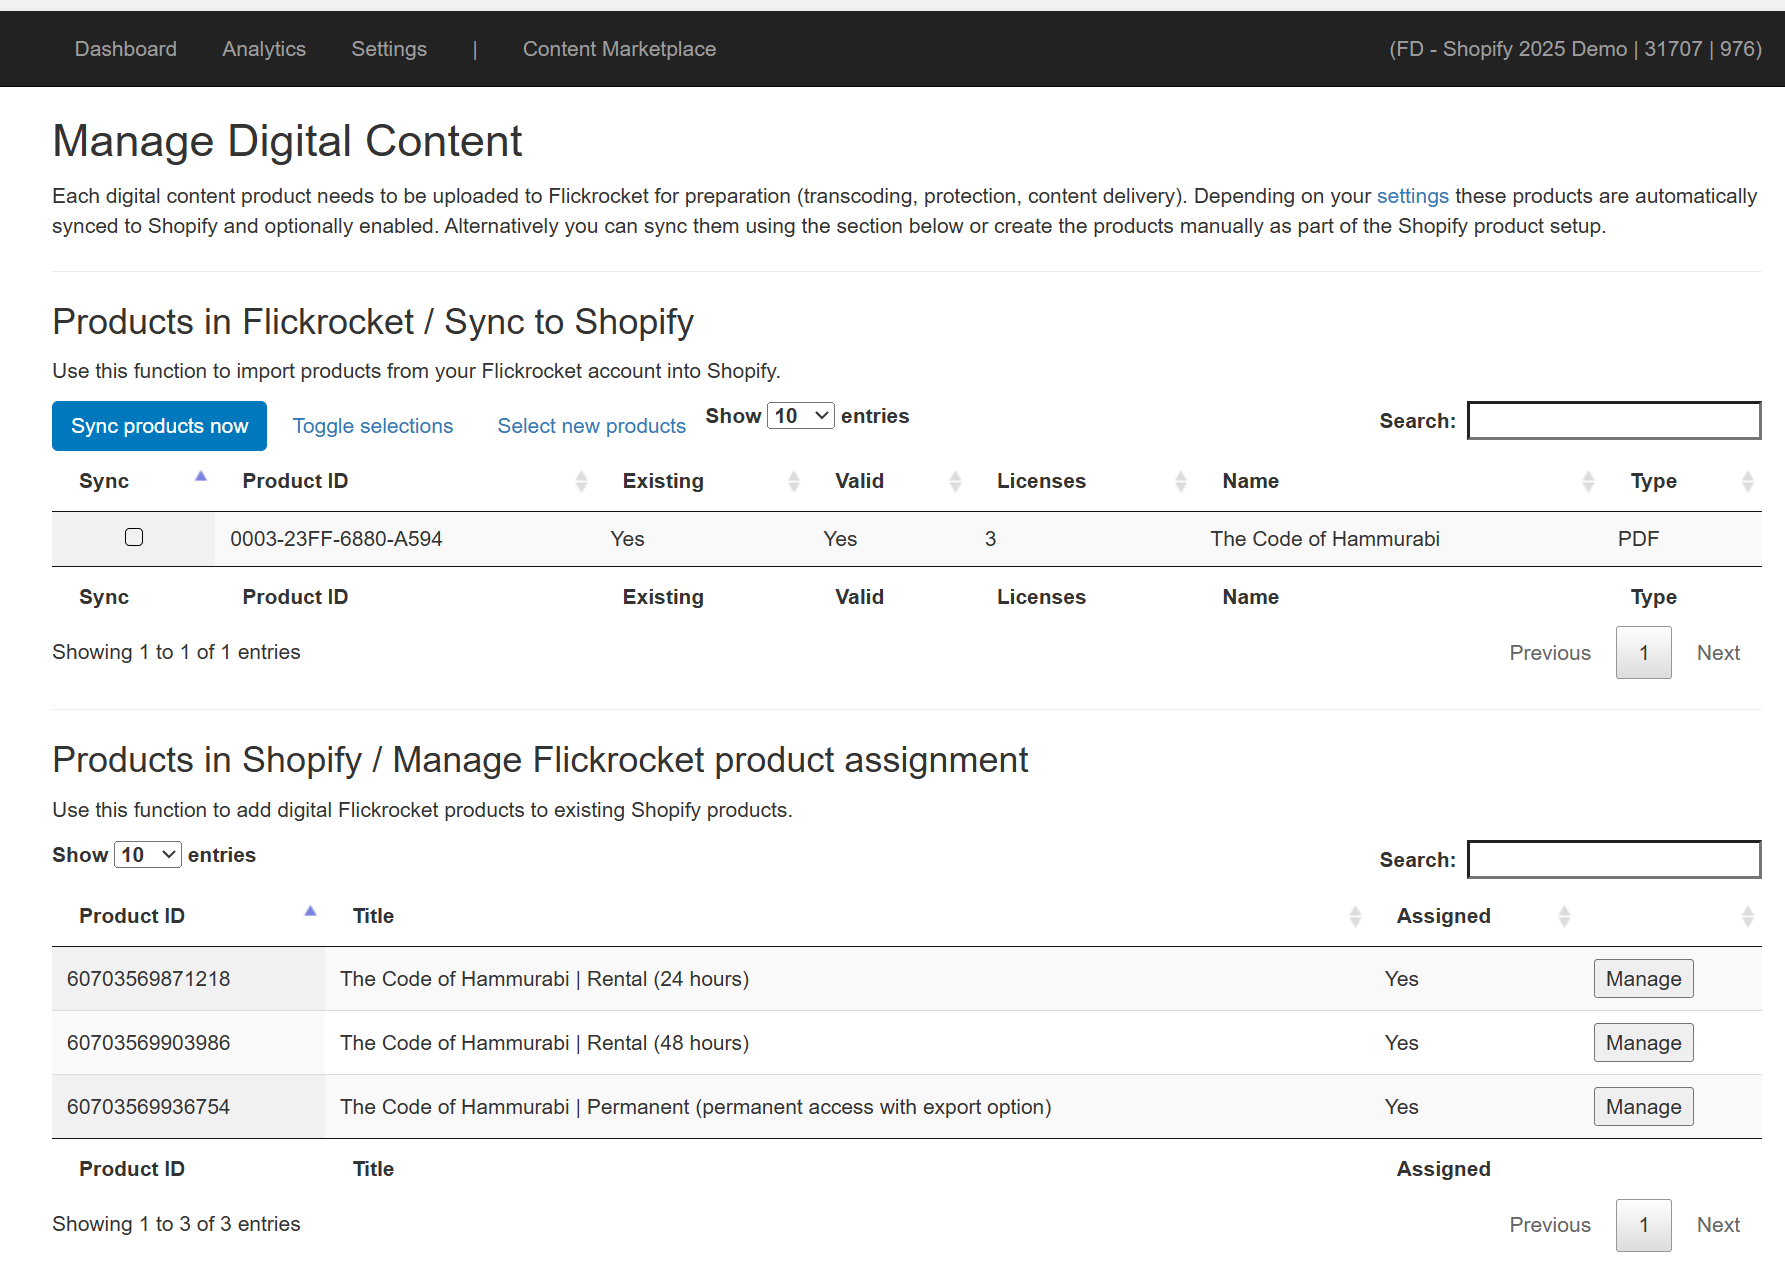
The dashboard lists the products available in your FlickRocket account. From the dashboard, you can create and upload new products to FlickRocket and sync those products to your Shopify store.
Since FlickRocket handles the complete content delivery, you always need to create a product in FlickRocket first before you can sync it to Shopify. Depending on your app settings, the Shopify product is created/activated automatically, once you create a new product in FlickRocket. For more information on creating and uploading products, see Creating a Product in the Usage Guide.
To sync products from FlickRocket to Shopify, select the products from the list and click the Sync products now button. Once the products are created in Shopify, you can edit them and change title, description, pricing, etc.
As an alternative to syncing products to Shopify, you can manually assign the FlickRocket product to an existing product variant. You may want to do this if creating a product manually or adding a digital product variant to a physical product.
To assign the FlickRocket product manually, select and choose Edit on the desired variant. Then choose More Actions>Edit product assignment (FlickRocket) and pick the FlickRocket desired product and license from the dropdown lists.
The Products in Shopify / Manage FlickRocket product assignment section of the Dashboard displays a list of Shopify product variants and the FlickRocket product/license that have been assigned to each variant. Clicking the Manage button allows quick assignment or removal of the FlickRocket product/license assignment.
Note: Non-DRM protected product types of MP3 and FLAC are not
Analytical data is provided.
On the Settings page, you define the basic settings on how the app operates.
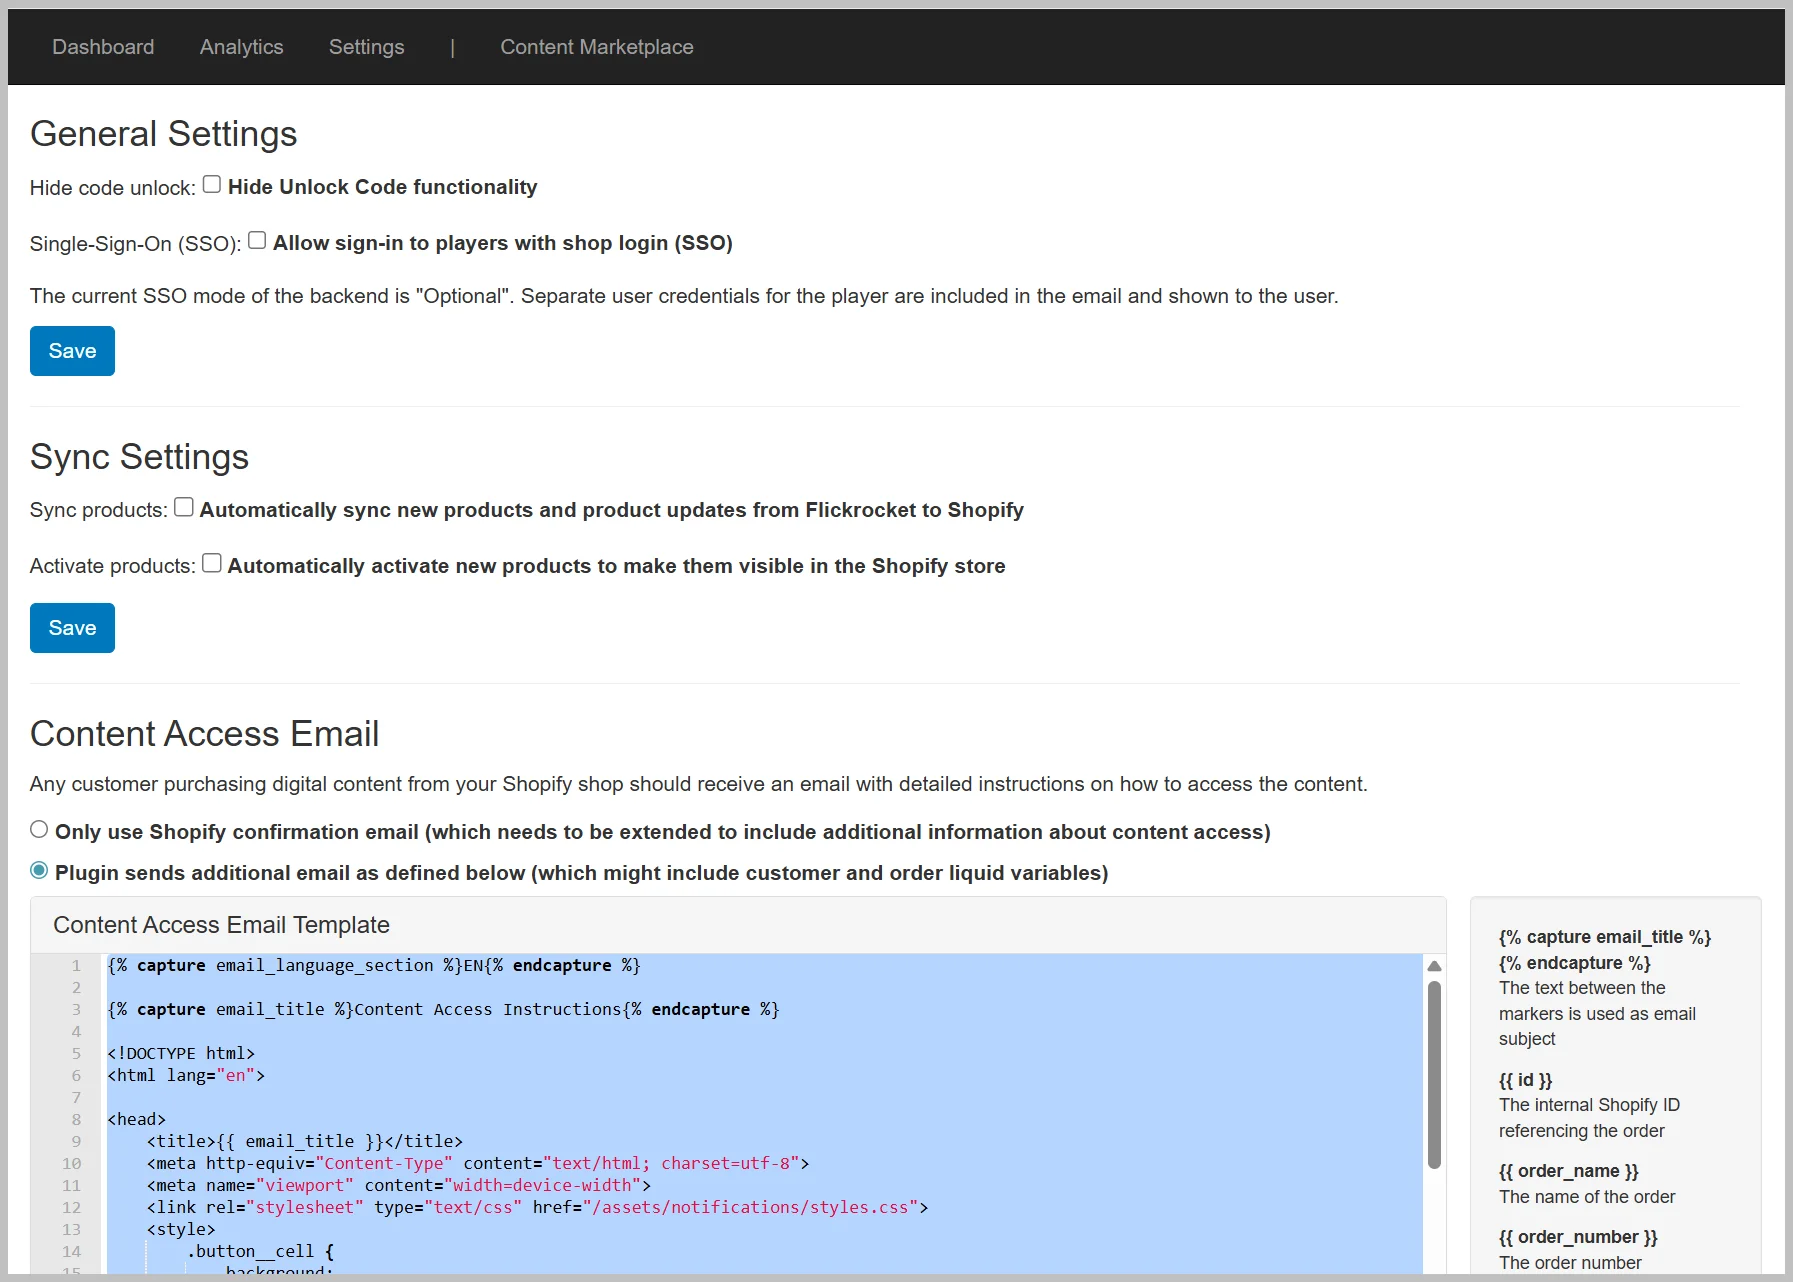
The Hide code unlock option removes the Code Redemption functionality from the shop. We do not recommend hiding the code redemption option without first discussing with your account manager.
Enabling the Single Sign-On (SSO) option allows your customers to access the content using either the player or shop credentials. Once enabled, the SSO functionality is available for customers making a purchase after the option was enabled.
NOTE: Your Shopify Settings MUST be set to Customer accounts>Accounts are required and Customer contact method>Email.
With the sync settings, you can define if products you create/edit in Flickrocket are automatically synced and activated in Shopify. We recommend disabling these options unless you are certain you want to automatically create and activate products as soon as you create or make any changes to those products in FlickRocket.
As an alternative to syncing products to Shopify, for example in the case the product already exists, or you want to add a digital variant, you can manually assign the FlickRocket product to the variant. To assign the product, edit the variant and choose More Actions>Edit product assignment (FlickRocket) and select the desired product and license.
By default, the app sends an email with information on how to access the content to every customer. The email contains important data like the email and password to use, as well as instructions on how the content can be accessed.
We strongly recommend letting the app send this email. However, it is not absolutely required, as the same information is also displayed by Shopify after the order is complete. This email template also contains logic for issuing unlock codes when the customer orders a quantity greater than one or when offering products with Multi-user Licensing.
The Notification Email field enables the sending of an email notifcation whenever an order with a FlickRocket-based product is processed. If this field is left blank, no email notifcation is sent other than the standard Shopify emails. The customer will still receive the Content Notification Email with the content access instructions.
The first option allows connection to a different FlickRocket account or reconnection to the FlickRocket account should it become disconnected.
FlickRocket supports a number of languages. The second option provides more details should you want to add support for an unsupported language.
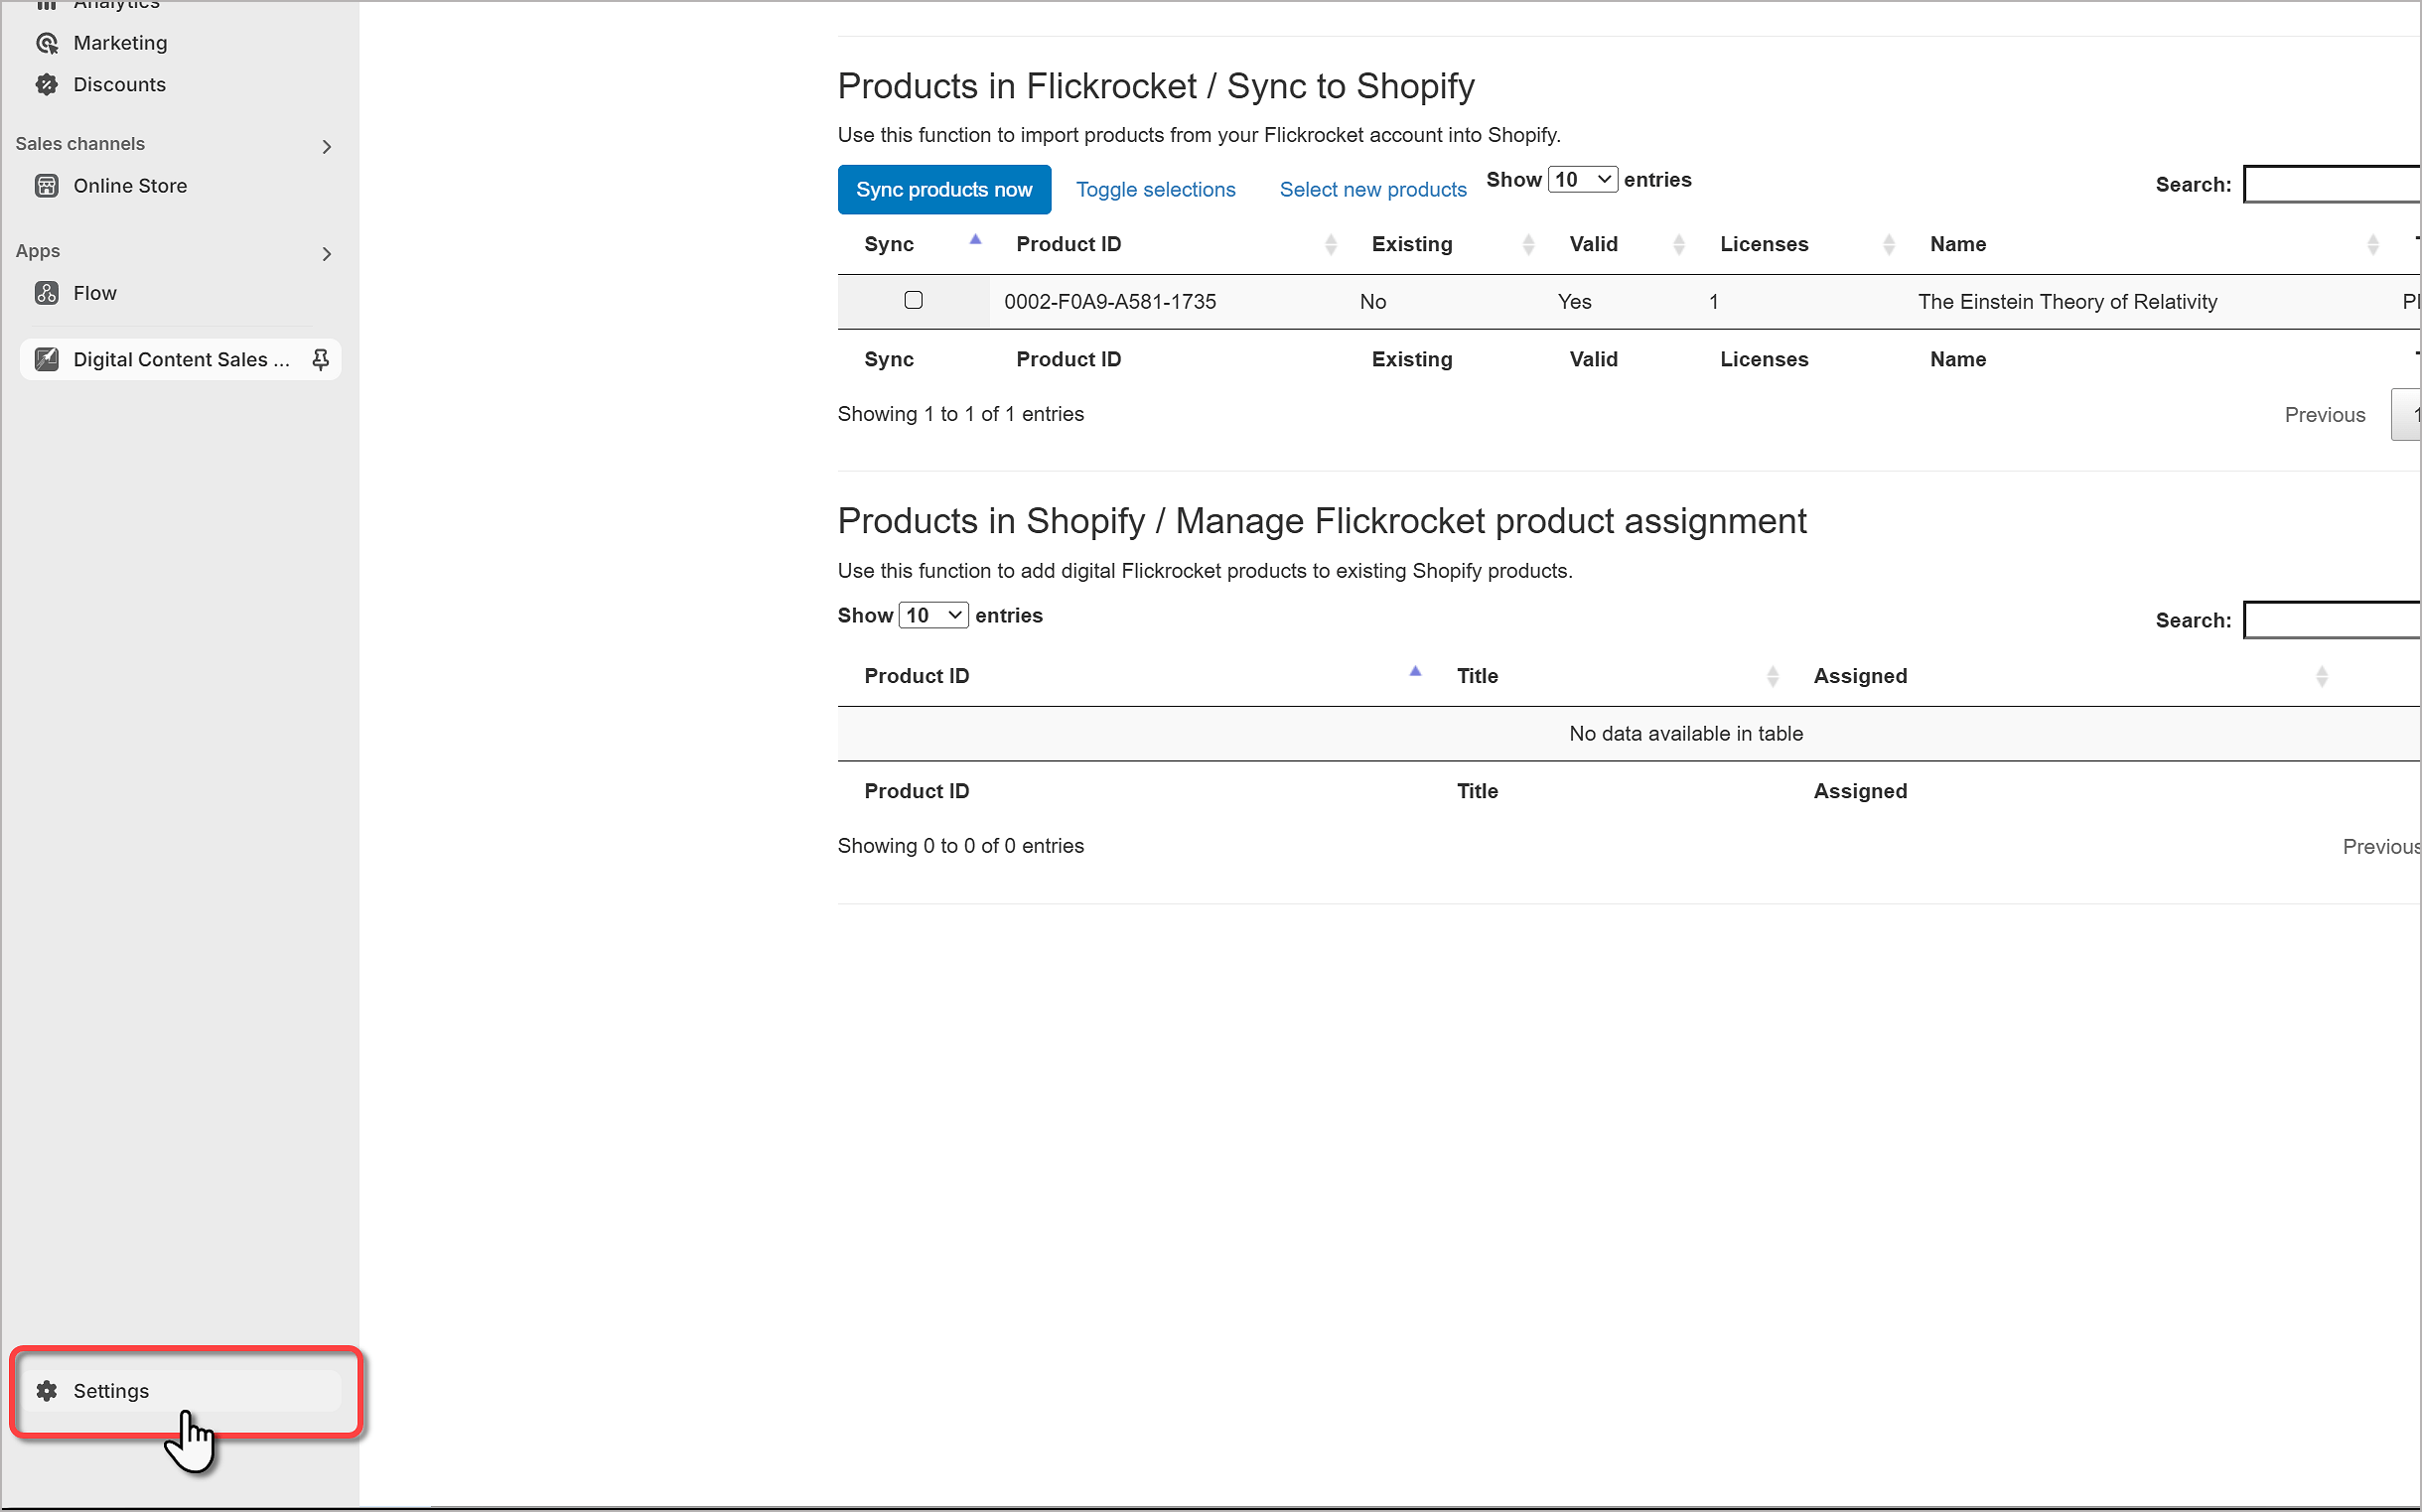
To configure the checkout, make sure you have installed the FlickRocket Digital Content Sales app and click on Settings.
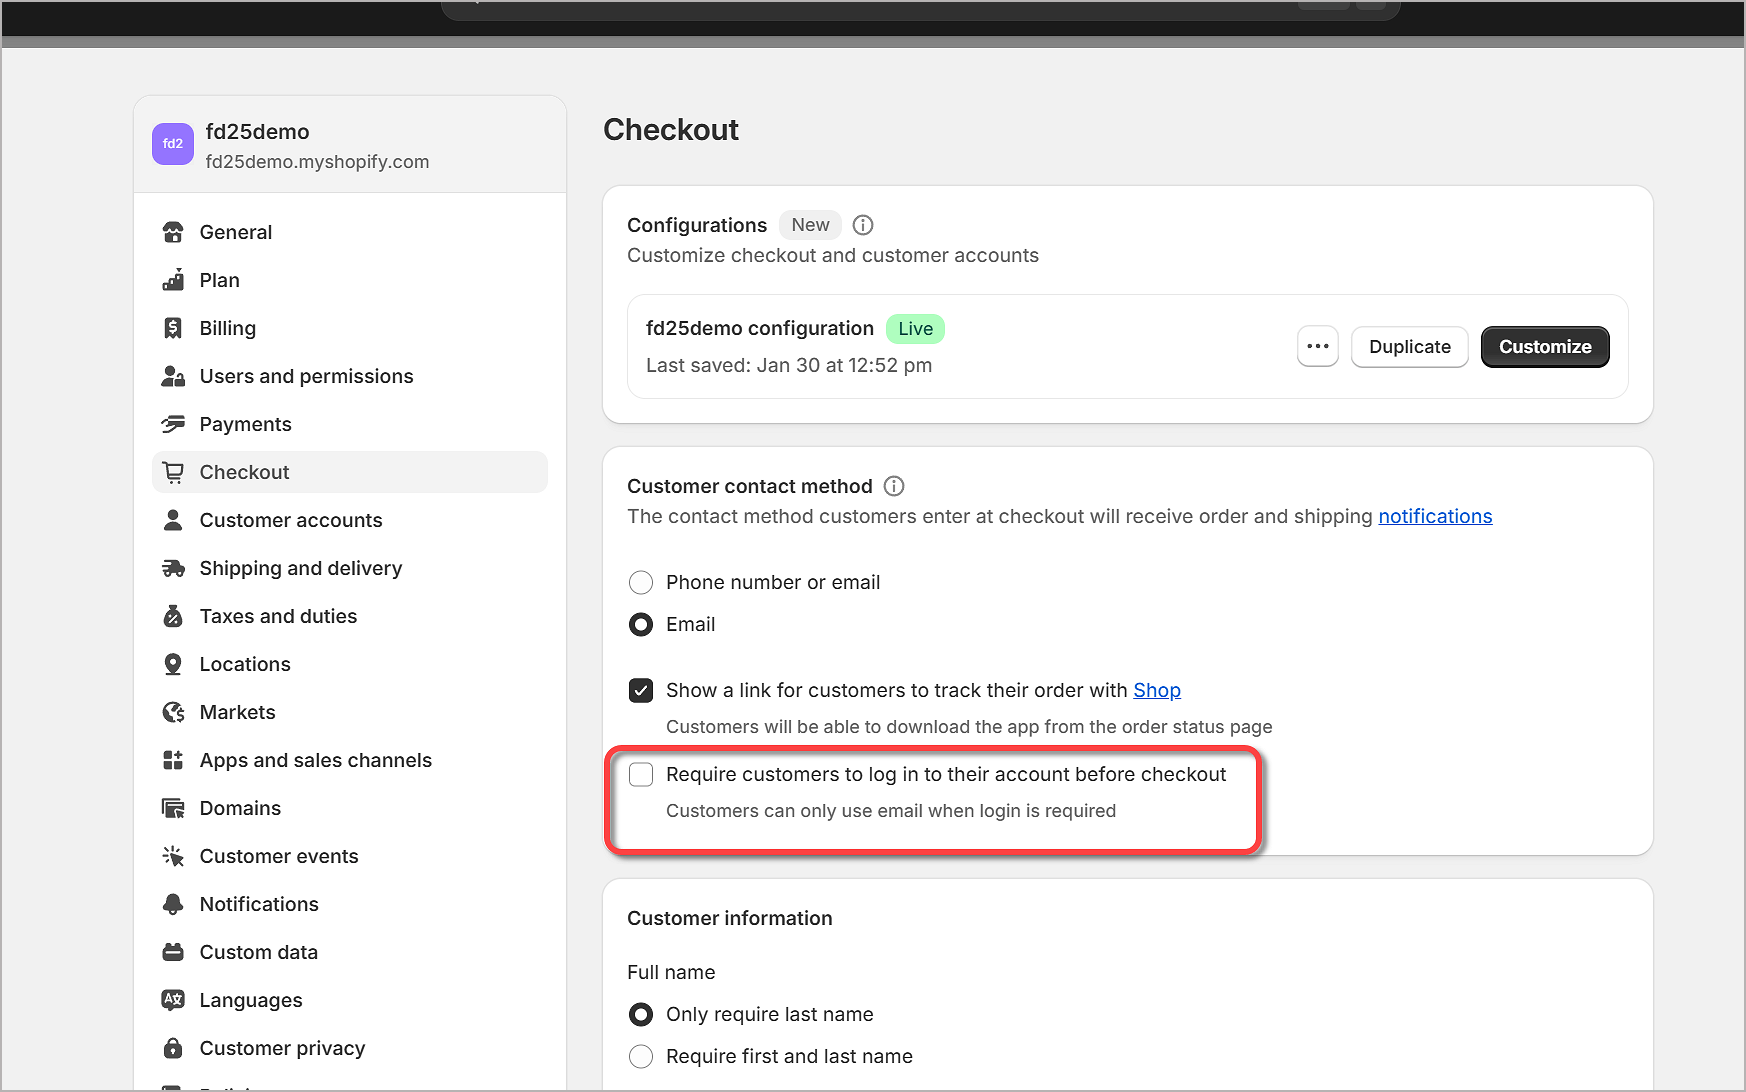
Next, select the Checkout option to set the Customer contact method settings.

The Customer contact method must be set to Email. A phone number cannot be used for the account.
We recommend requiring the customer have Shopify store account for the best user experience.

We recommend requiring a Shopify store account, however it is not mandatory. When an account is
required, the customer can simply click the "Access my digital content" button after checkout and they will
be automatically logged in to their FlickRocket "Cloud account" with instant access to the content.
If an account is not required, the customer will need to go through a simple email verification/login step
AFTER the purchase is completed.
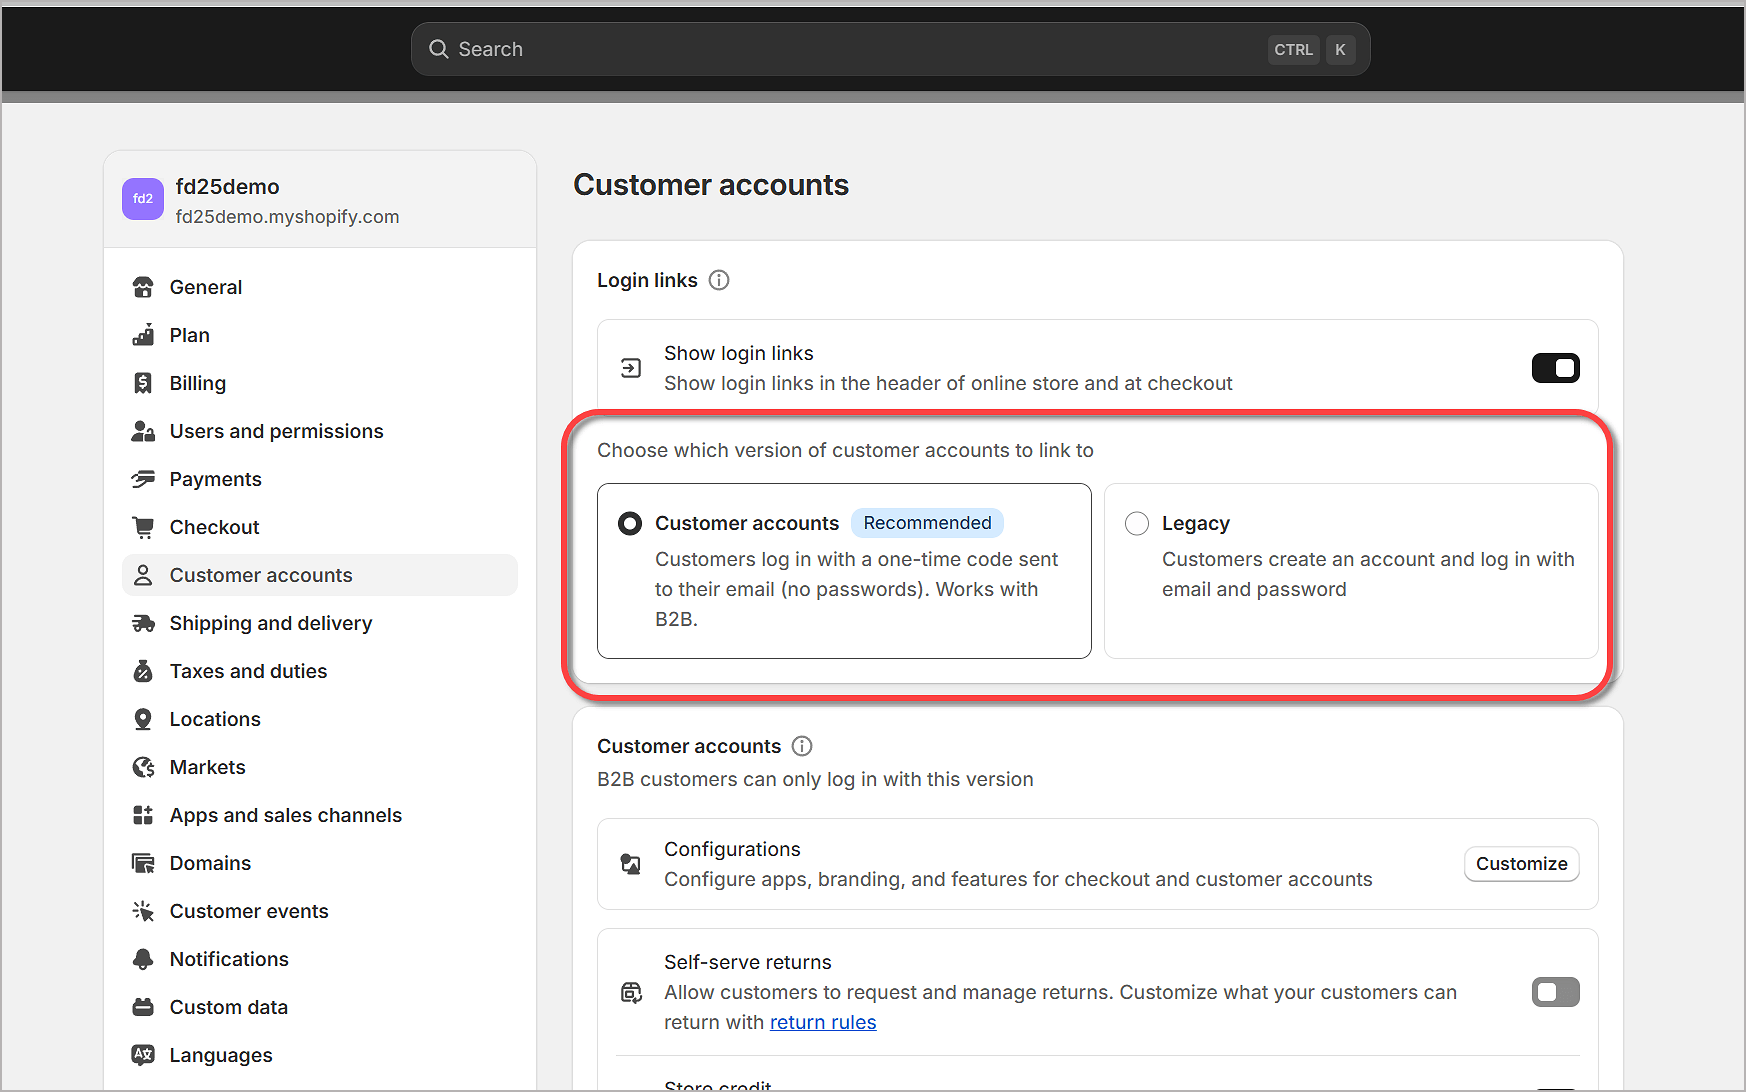
The verification/login step will be the same whether you select the Legacy or Recommended version of
Customer accounts.
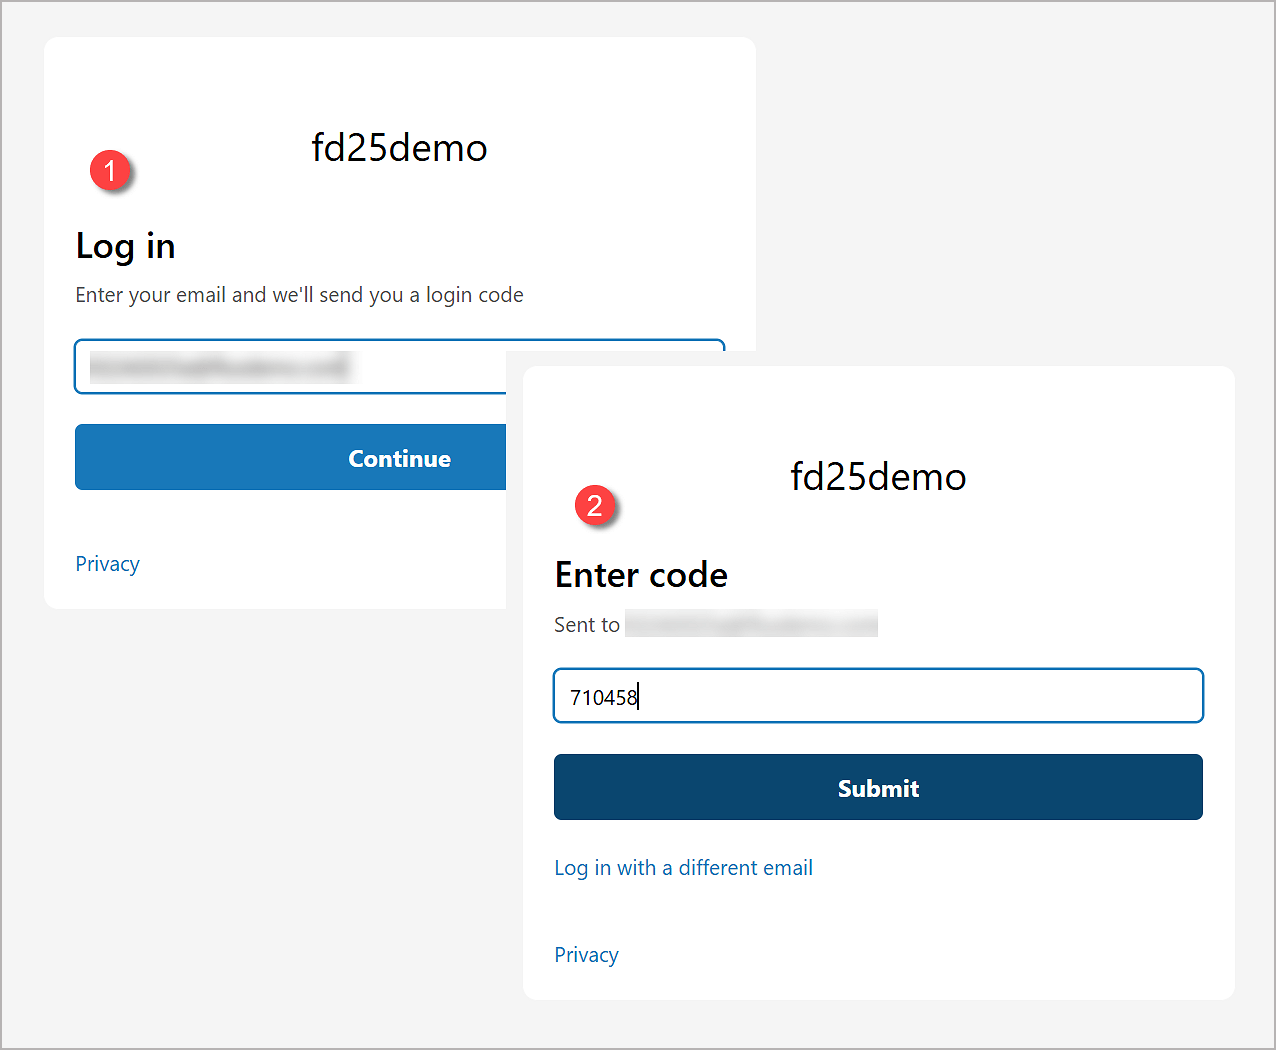
The verification/login step is simple.
When an account is not required and the customer clicks the "Access my digital content" button, the
customer will need to enter their email and click Continue.
Then they will enter the code they receive via email and click Submit.
After submitting the code, the customer is automatically logged in and directed to the page where they can
access the content instantly.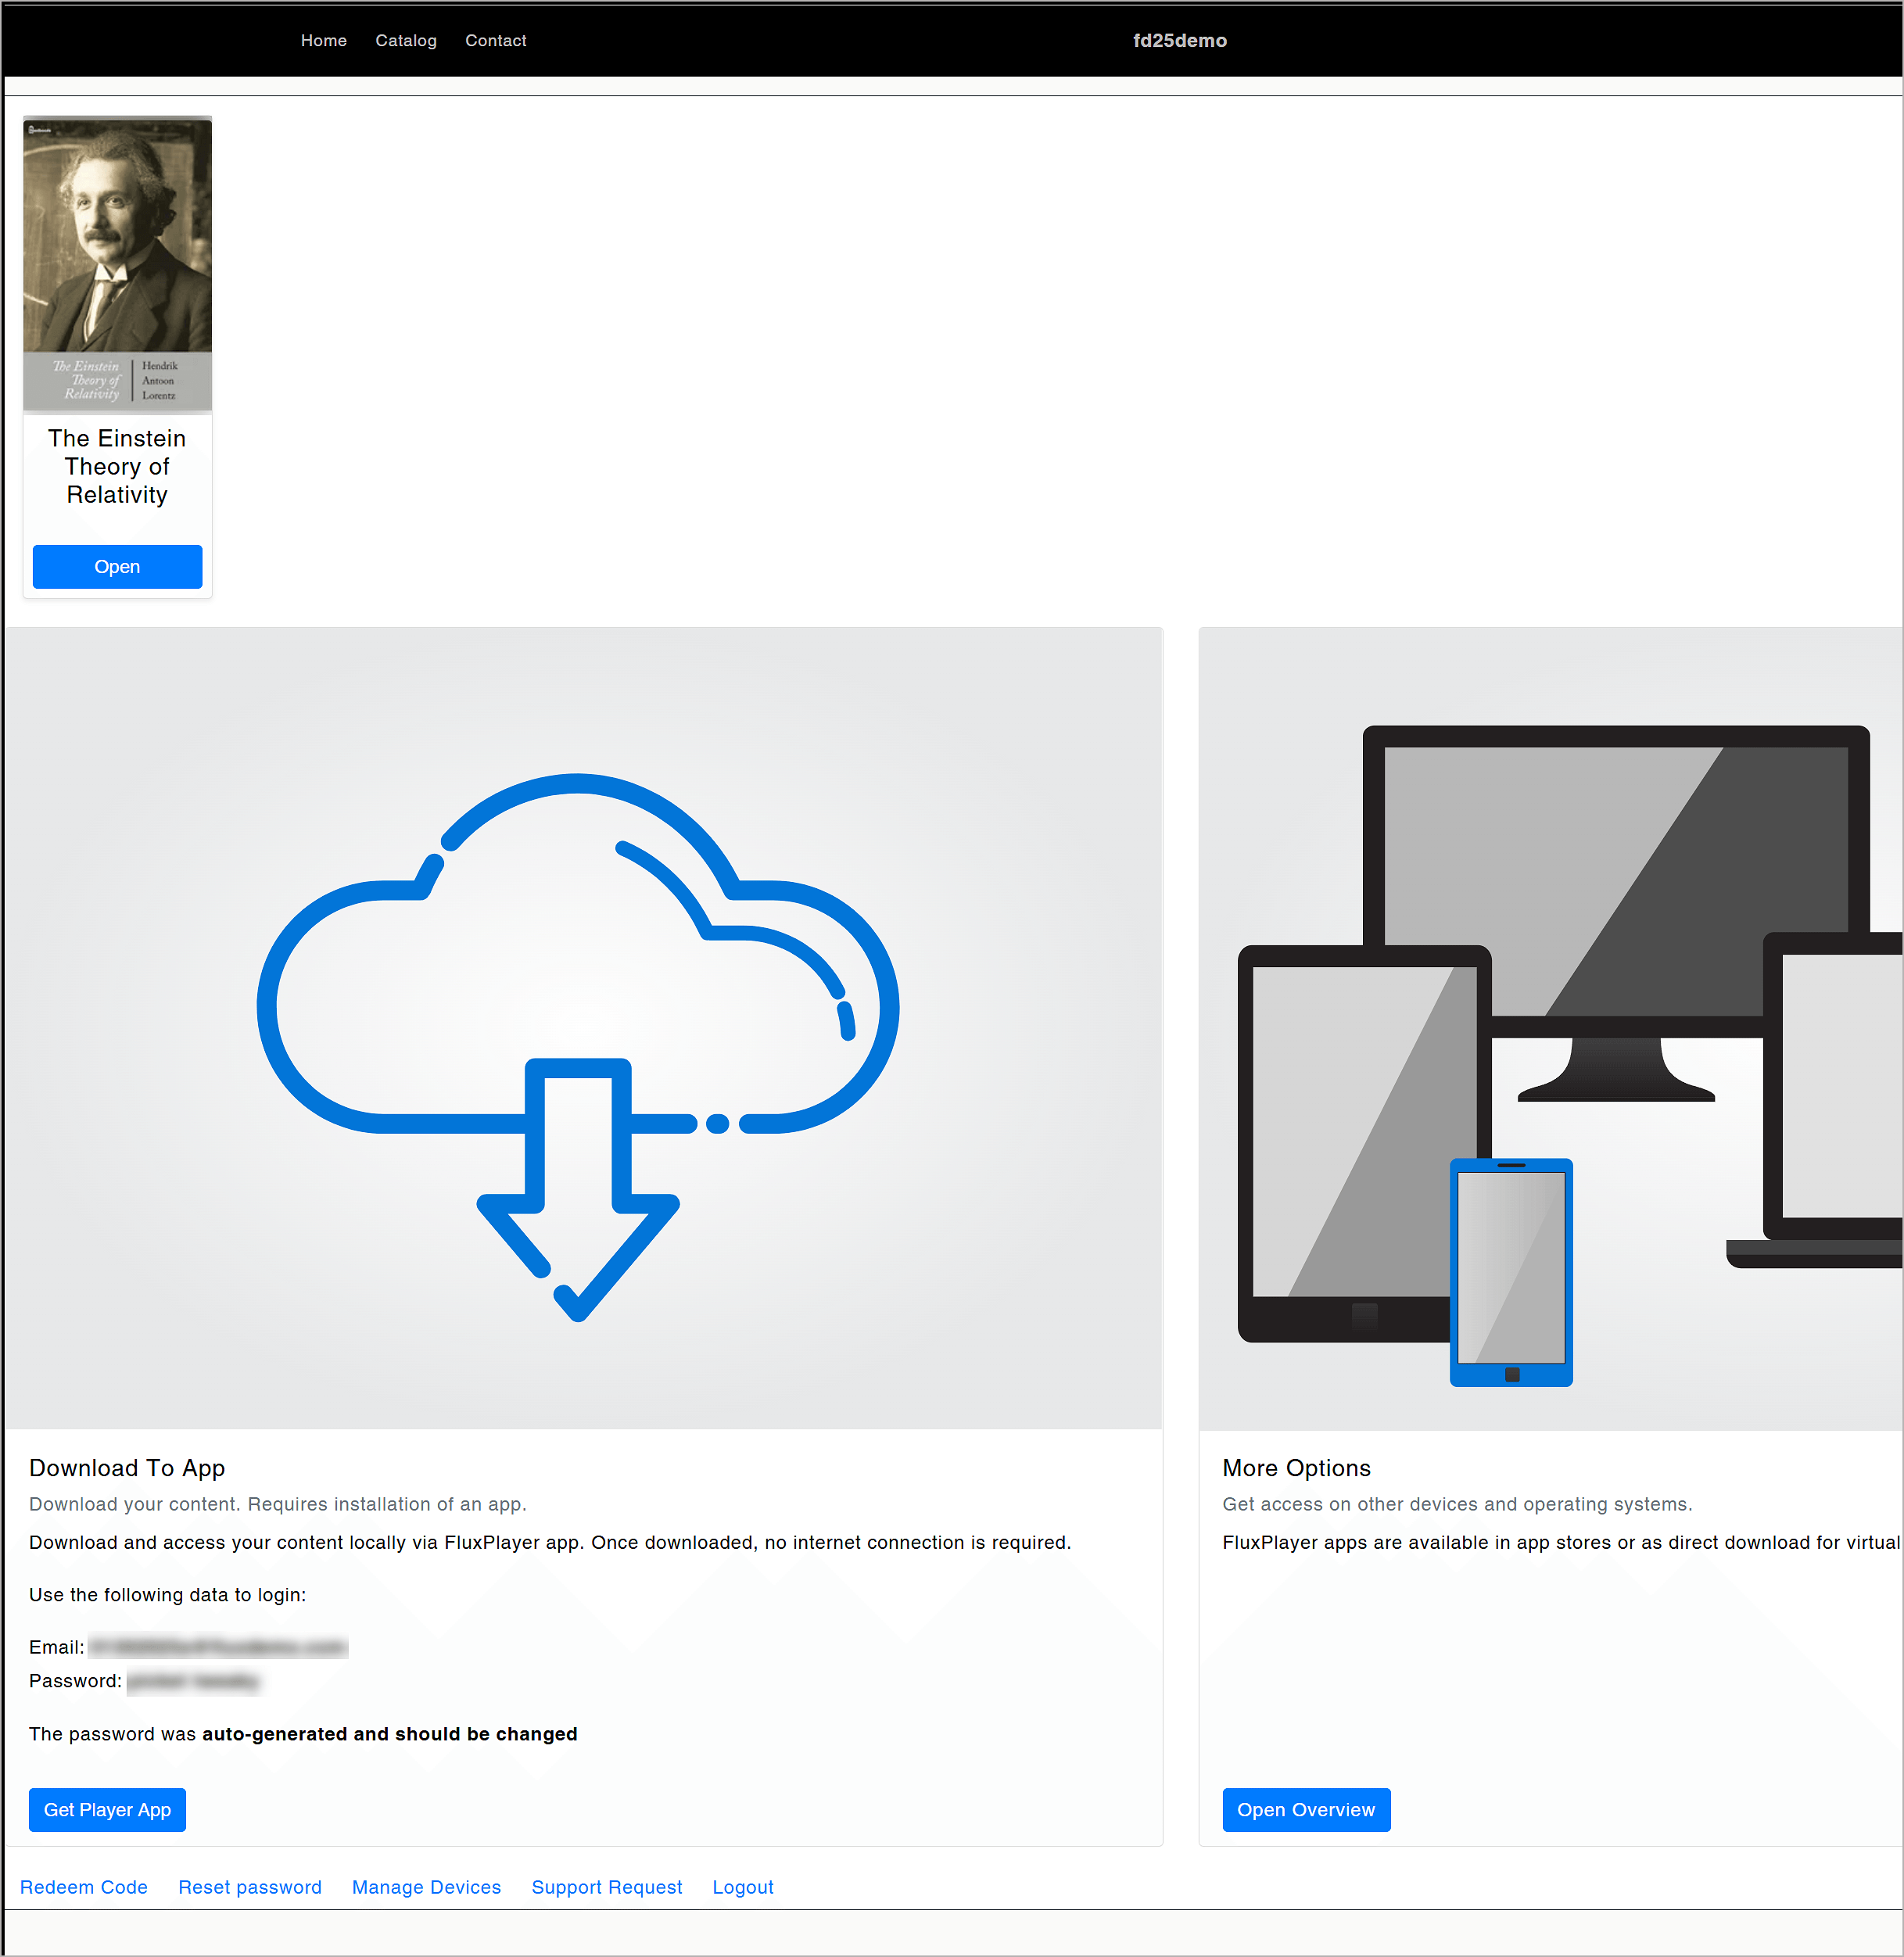
Next, click the Customize button.
Click on the Sections icon that is found toward the top-left corner.

Click on Checkout at the top of the page and choose Thank you from the dropdown list.

Click Add app block under Order Details.

Select content-access after-order.

Click Save to complete the checkout configuration.

After your customer completes a successful order that includes at least one FlickRocket-based product, they can
click on the Access My Digital Content button to navigate to the page where they can stream the content in their
browser or download the player app installers.
FlickRocket

The following describes the process of accessing purchased content from the view of a customer.
Customers access the content through their web browser or the FluxPlayer app. The customer can stream or view their purchase in their browser without installation of any software, or they can install the Flux Player app. The main advantage of using the app is that once downloaded, the content can be used anywhere, anytime without internet connection while still protecting your content from unauthorized access.
The Flux Player is available for Windows, macOS, iOS, Android, Kindle Fire, ChromeOS, and SmartTV including AppleTV, AndroidTV, FireTV, and Roku. The Flux Player app handles the download/streaming, social functions, ratings, and much more.
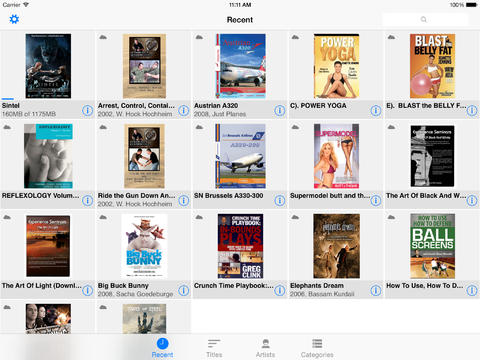
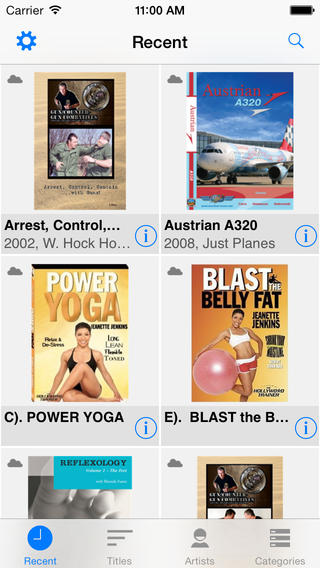
At the end of the checkout process, an Access Digital Content button is displayed, and the customer can click this button to access the Digital Content Access page on your Shopify store. An email is also sent to the customer with a link to the Digital Content Access page, access details, and their login information.
The Digital Content Access page allows instant streaming/viewing of the content in their browser. This page also contains links to installers for the Flux Player app. If using the app for the first time, the customer needs to sign-in using with their login information or their Shopify store credentials if Single Sign-On is enabled.
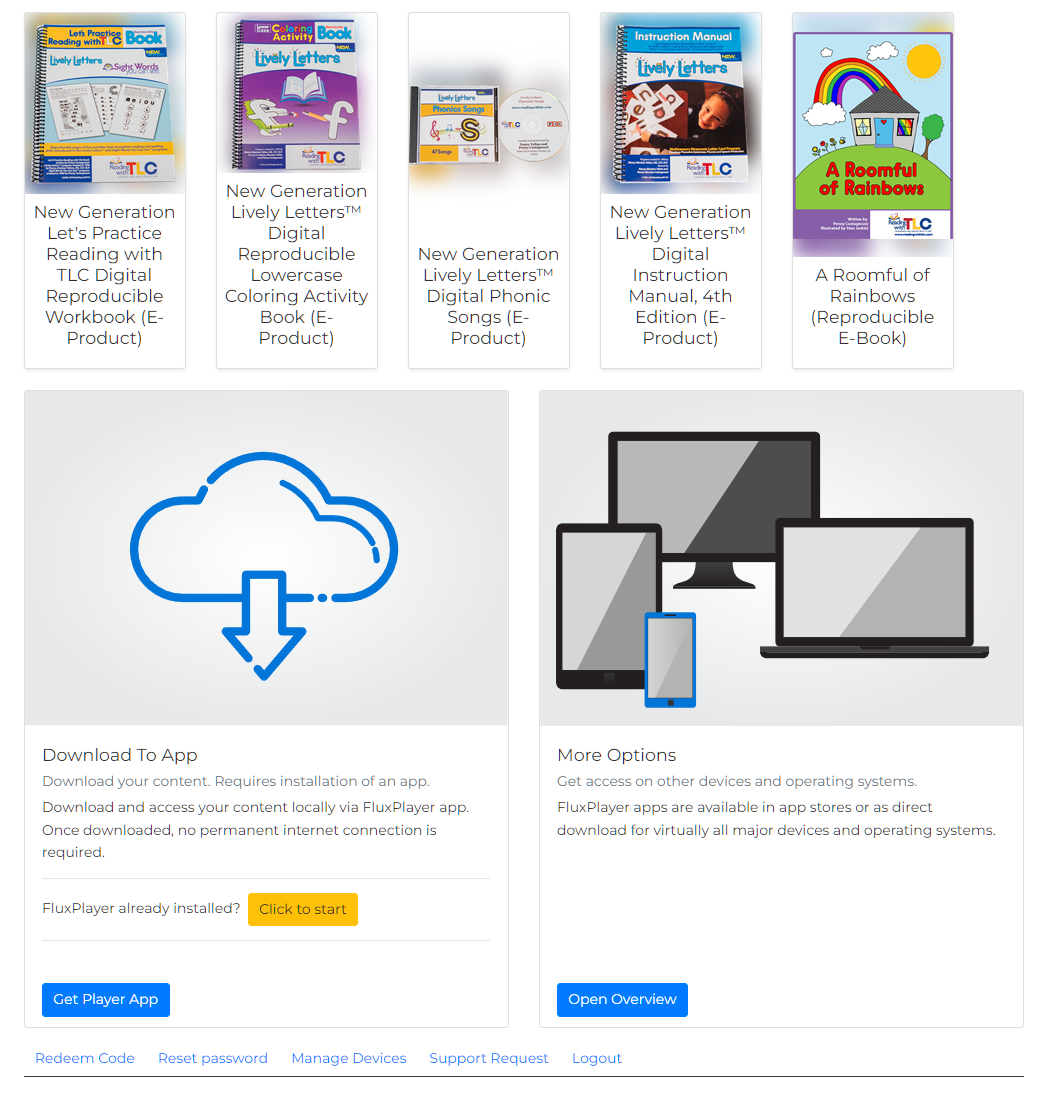
On this page the customer is instructed to download the player and access the content with the account which was created at purchase time.
Read more: